Building with an AI coding assistant? Connect the Seam MCP
Server to give your assistant direct access to
Seam documentation — setup takes under a minute, no API keys needed.
Step 1: Connect Devices
To get started with Seam, first connect a set of devices.-
In a web browser, go to Seam Console at https://console.seam.co/ and create an account.
Once you have logged in to Seam Console, you are working in the default sandbox workspace. - In the upper-right corner of the Devices page, click Add Devices. Seam Console displays an authorization flow (known as a Connect Webview) that enables you to connect a device account to Seam.
- In the Connect Webview, click Continue.
- In the manufacturer list, select August.
-
When prompted, type the following sample (sandbox) credentials:
- Email:
jane@example.com - Password:
1234
- Email:
- Click Submit.
- When prompted for a two-factor authentication (2FA) method, select Email.
-
In the Two Factor Code field, type
123456and then click Submit and Continue.
Step 2: Get an API Key and SDK
To control the devices that you connected in Step 1, you must create an API key and install the Seam SDK in the programming language of your choice.Create an API Key
- In the top navigation pane of Seam Console, click Developer.
- In the left navigation pane, click API Keys.
- In the upper-right corner of the API Keys page, click Add API Key.
- In the Add API Key dialog, type a name for your new API key and then click Create API Key.
- Copy the newly-created API key and store it for future use.
Install the Seam SDK
Install one of the Seam SDKs in the programming language of your choice. Seam provides client libraries for many languages, such as JavaScript, Python, Ruby, PHP, and others, as well as a Postman collection and OpenAPI spec.- JavaScript / TypeScript (npm, GitHub)
- Python (pip, GitHub)
- Ruby Gem (rubygem, GitHub)
- PHP (packagist, GitHub)
- C# (nuget, GitHub)
- JavaScript
- Python
- Ruby
- PHP
- C#
Step 3: Grant Access
Grant your first access! You’ll create an Access Grant—the default and recommended way to grant a person access to any physical space through Seam—and get back a PIN code that your user could enter on the lock’s keypad. To start, open a terminal window and export your API key as an environment variable.In a sandbox workspace, the access method is issued almost instantly. On real
devices, issuance can take a few moments—poll the access method until
is_issued is true or watch for the access_method.issued event before
reading the code.Congrats! :tada:
Now that you have completed the Seam API Quick Start, you are well on your way to writing code that can actually control the physical world! :sunglasses: Here are some ideas of what you can do next…Go Deeper on Granting Access
You just created your first Access Grant. The same API issues mobile keys, Instant Keys, and plastic cards, grants access to multiple devices and access system entrances in one call, and manages the full credential lifecycle. See the Granting Access guide. You can also control devices directly—for example, lock and unlock doors remotely.Connect a Real Device
If you have a real device, you can try to control it using the steps in this Quick Start. Note that you must first create a production workspace because sandbox workspaces only enable you to connect test accounts and devices. For more information, see Workspaces.Connect Users’ Devices
If you are creating an app to control your users’ devices, see Connect Webviews. Seam Connect Webviews are fully-embedded client-side components that you add to your app if you want to enable your users to import their own devices using your app. Your users interact with your embedded Connect Webviews to link their IoT device accounts to Seam through your app. That is, Connect Webviews walk your users through the process of logging in to their device accounts. Seam handles all the authentication steps, and—once your user has completed the authorization through your app—you can access and control their devices using the Seam API.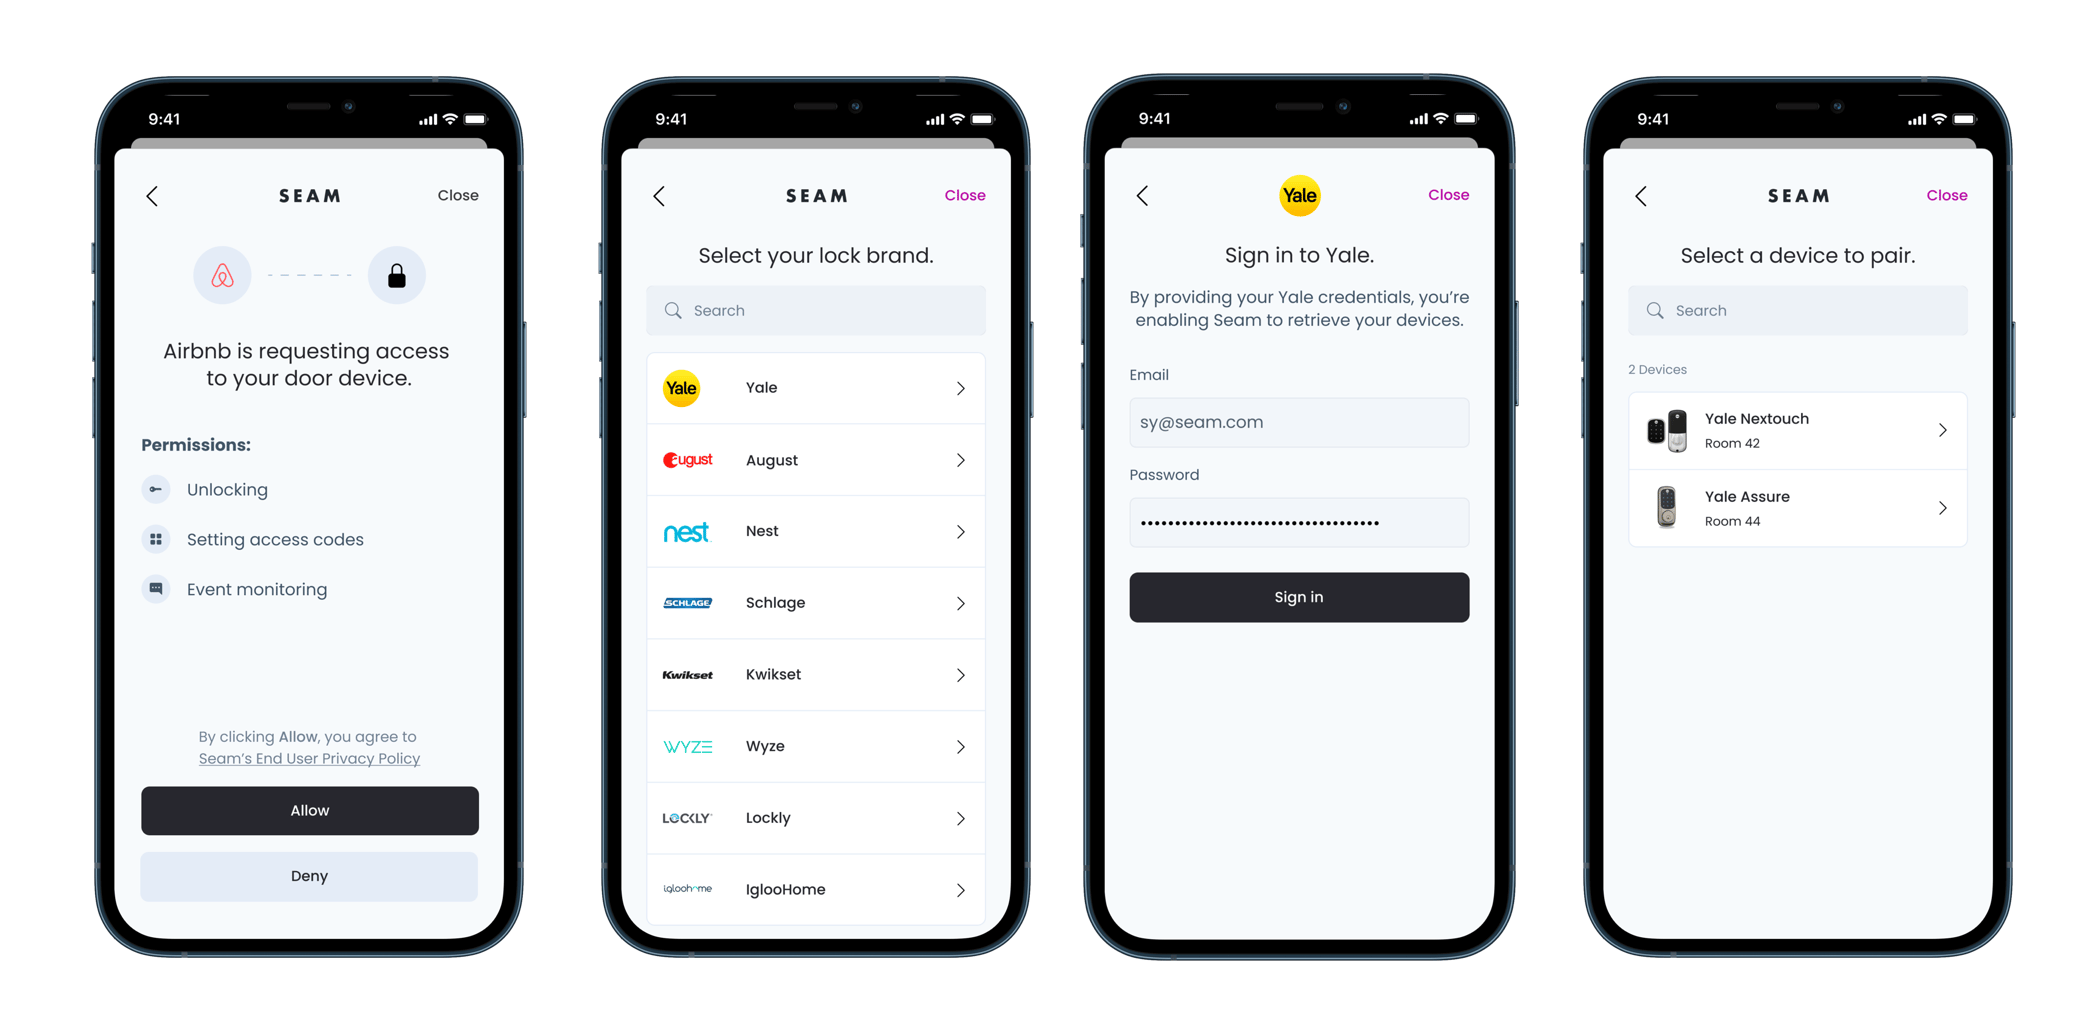
Learn about Devices and Capabilities
Seam supports many device categories. Each device can be broken down into device capabilities. A capability indicates what the device can do, what properties it has, and what events it emits. To learn more about specific capabilities, such as access codes or thermostats, see the following guides: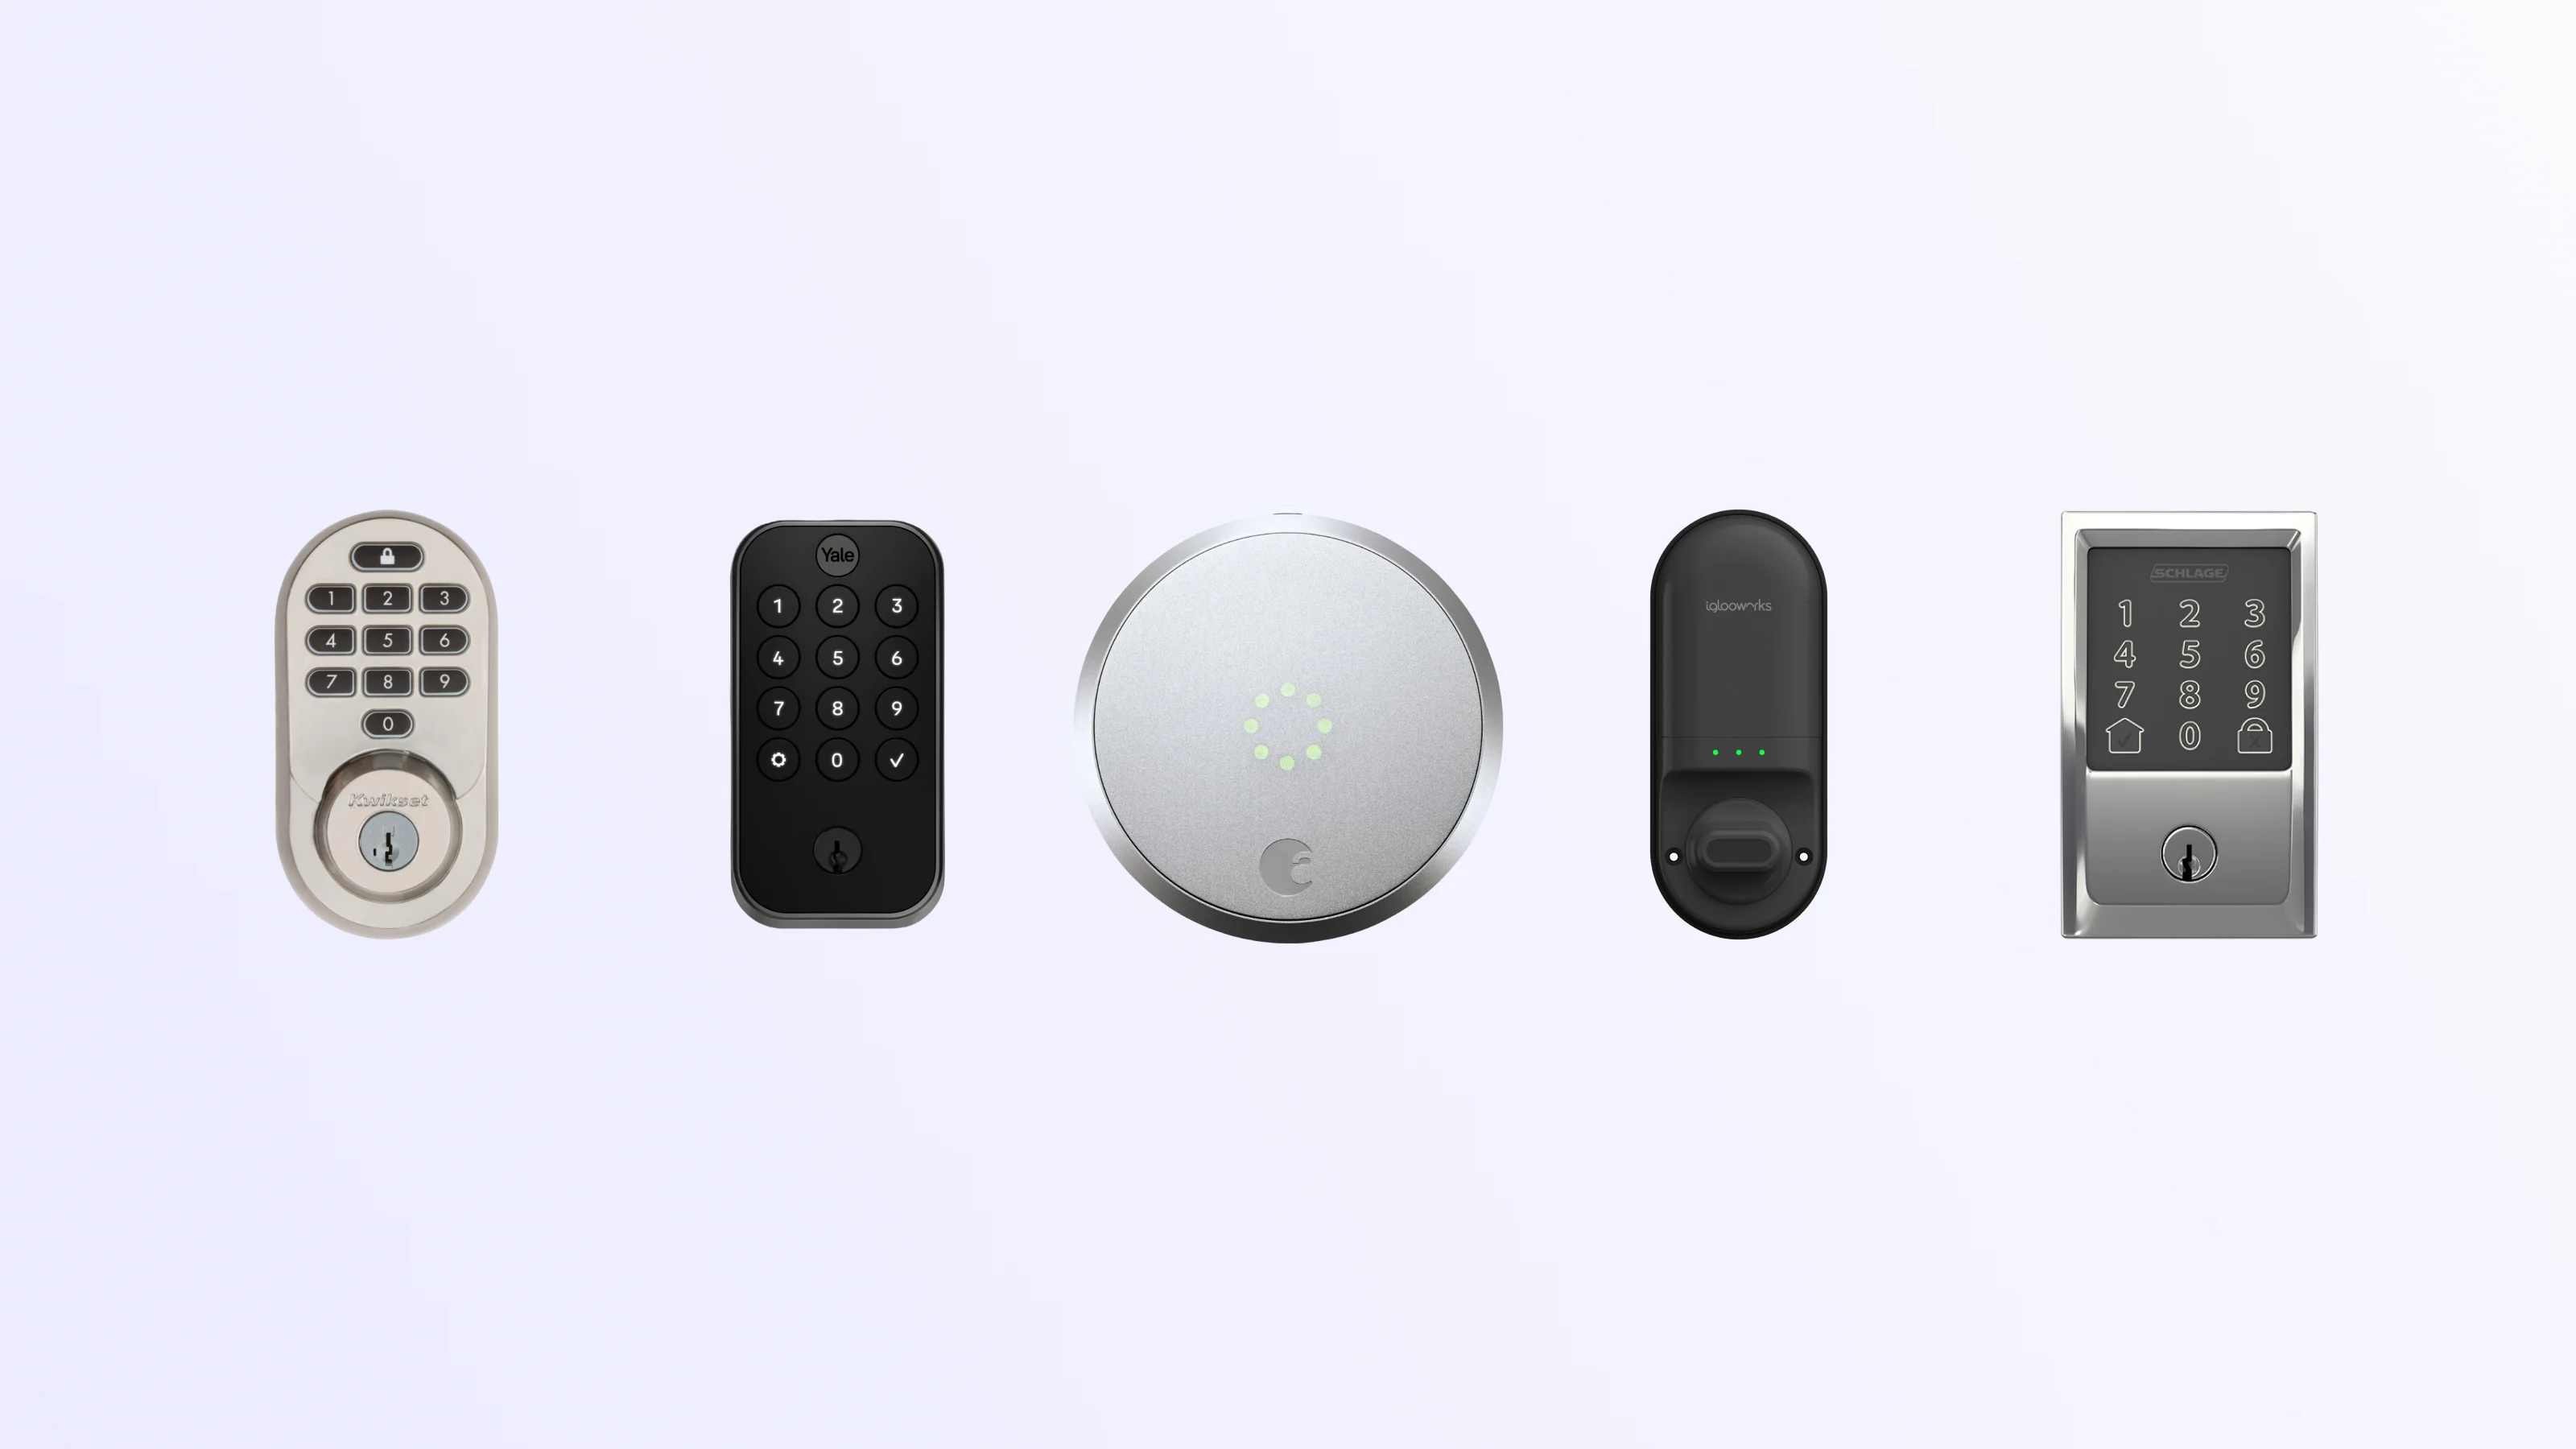
Door Locks API
Get started →

Thermostats API
Get started →
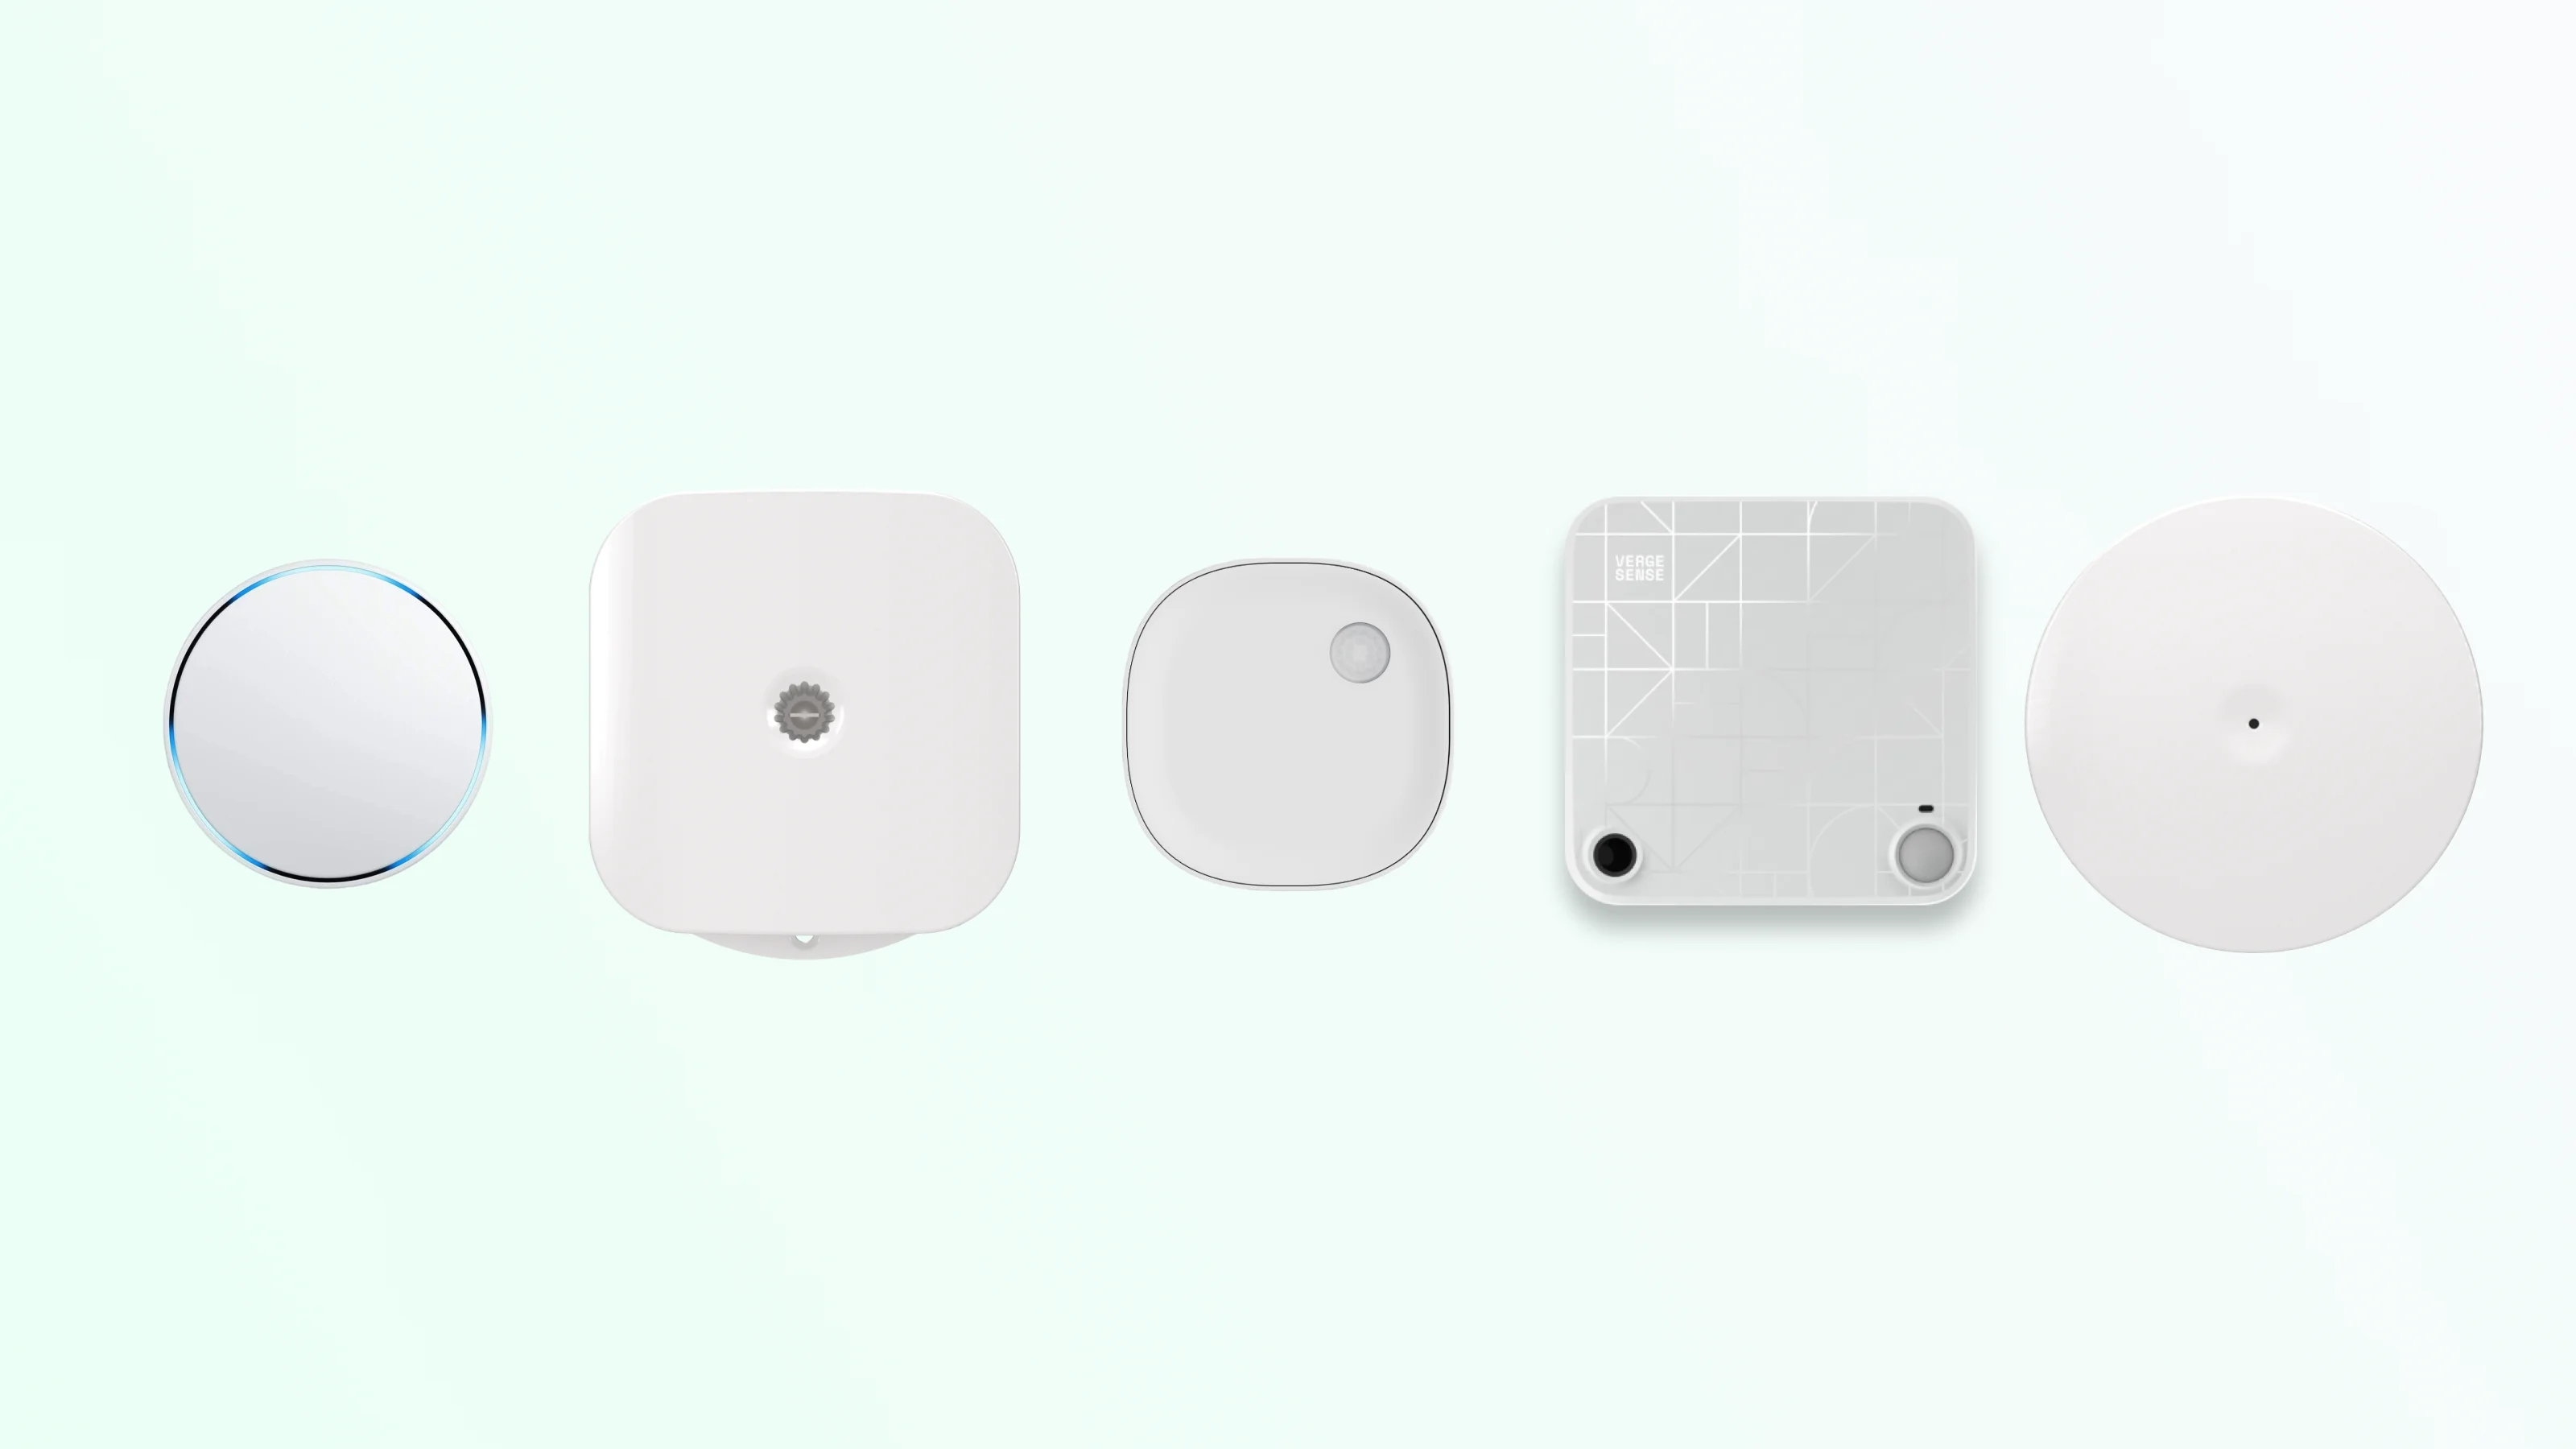
Noise Sensors API
Get started →
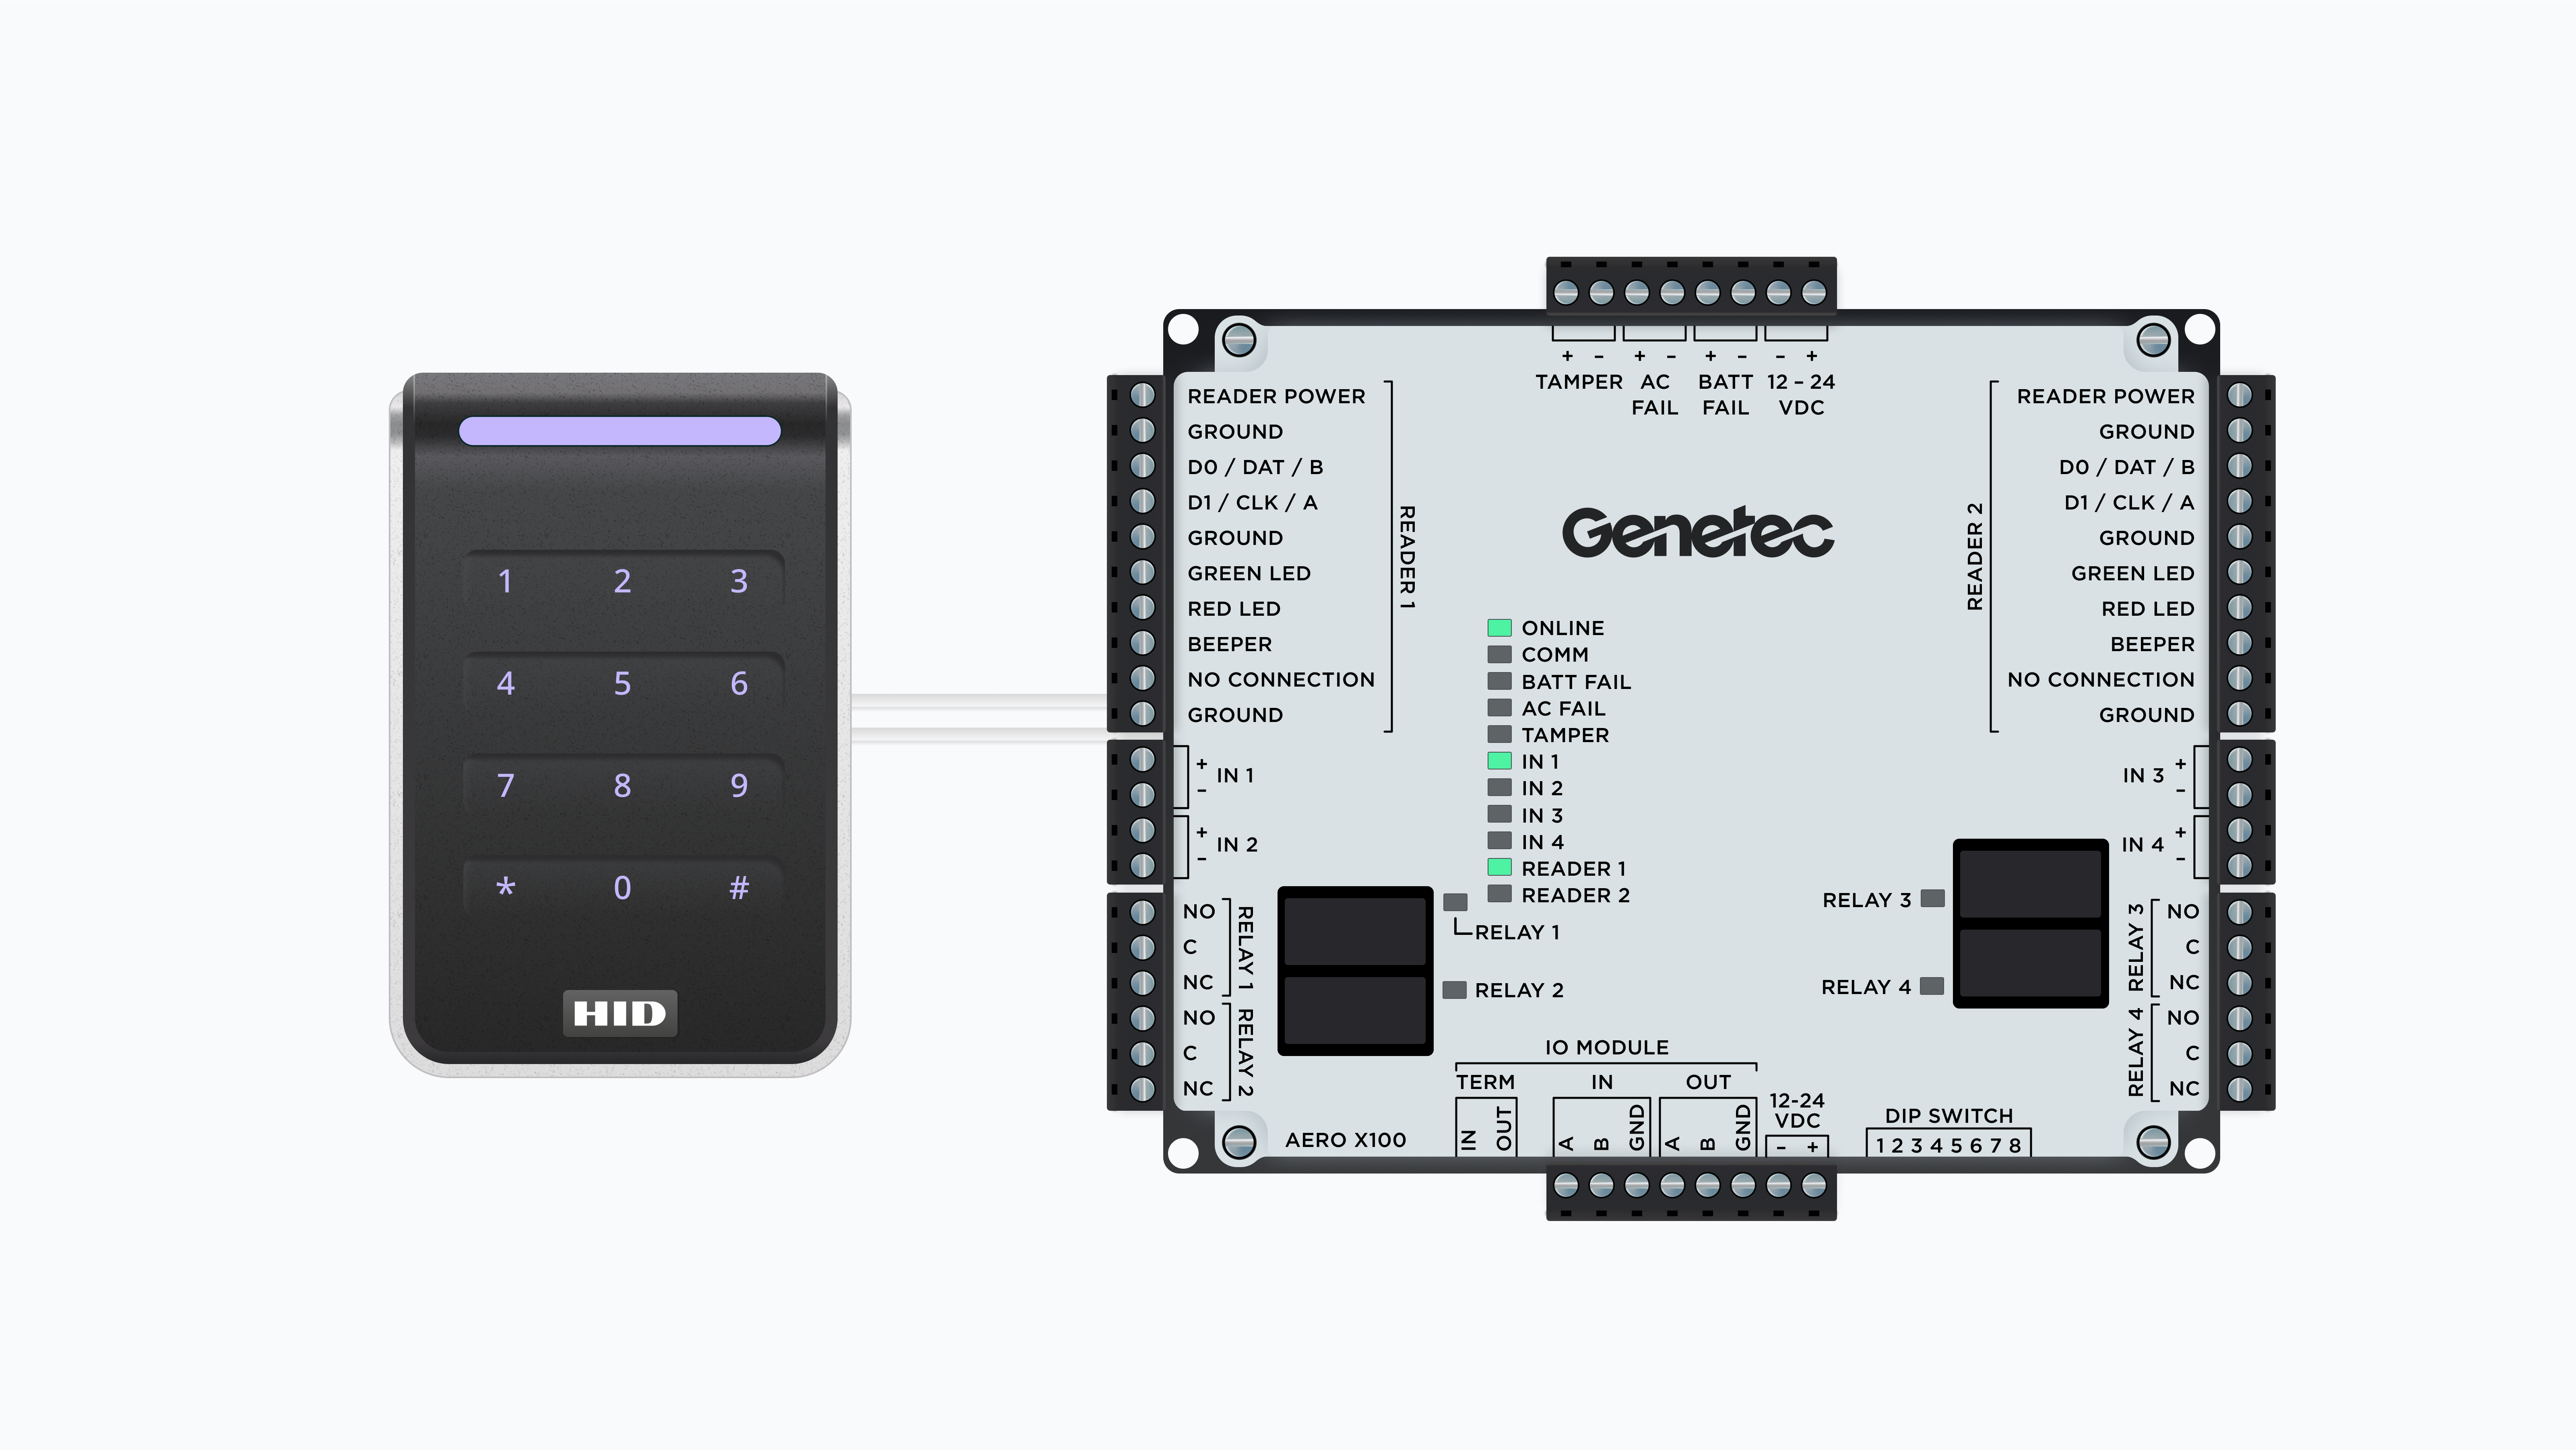
Access Control Systems API
Get started →