- Create an access system user and corresponding user identity.
- If your access system supports access groups, assign the user to one or more access groups.
- Create a mobile key credential. If your access system supports direct entrance assignment, during this step, also select the entrances to which you want to grant the user access.
- Issue an Instant Key for the user identity.
Create a User Identity and Access System User
- Log in to Seam Console.
-
In the upper-left corner, click the workspace switcher and select the production workspace in which your access system is connected.

- In the top navigation pane, click ACS Systems.
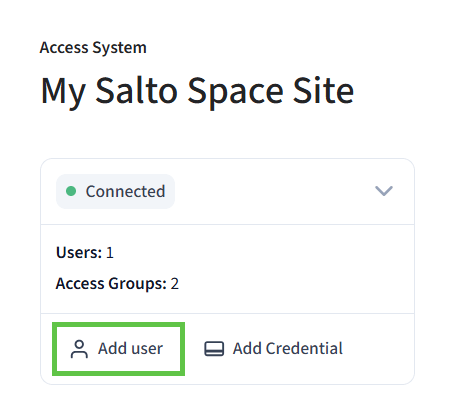
- On the Access Systems page, click the access system in which you want to grant access to a user.
-
At the upper-left of the access system page, click Add user.
-
In the Add New User dialog:
- Type the full name of the user, as well as a unique email address or phone number.
- Specify the start and end dates for the user’s access.
- Click Continue.
-
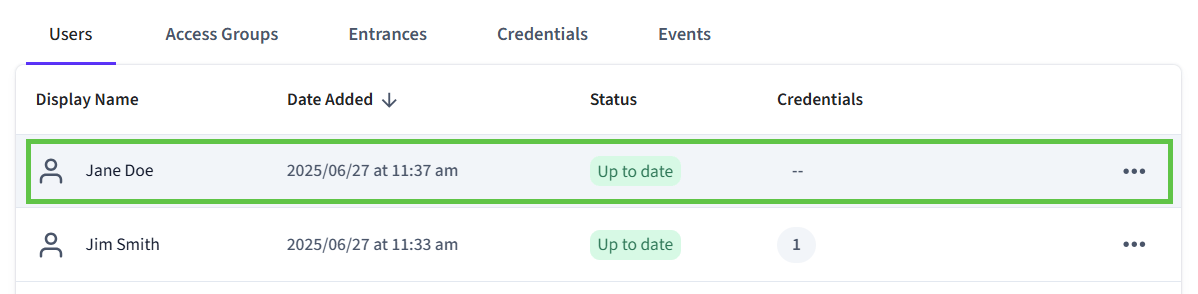
On the Users table, click the access system user that you created.
-
At the left of the user page, click User identity to expand the User identity area.
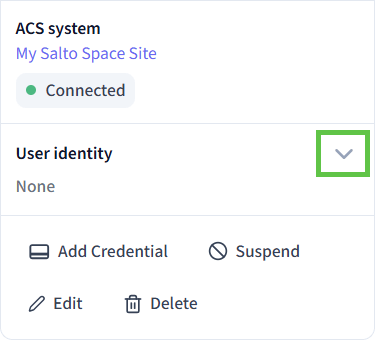
- Click Link to user identity.
-
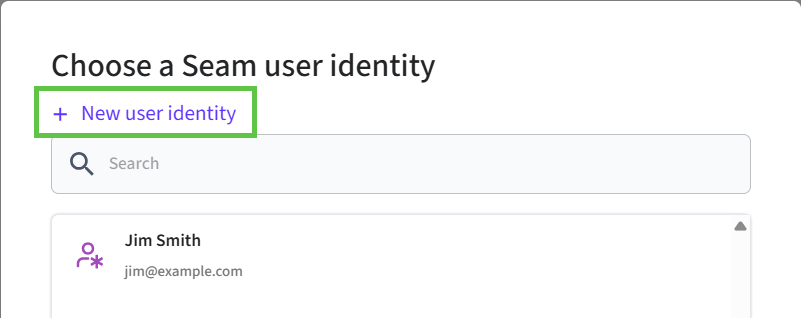
In the Choose a Seam user identity dialog, click New user identity.
-
In the Add New User Identity dialog:
- Type the full name of the user, as well as a unique email address, phone number, or user identity key.
- Click Save.
-
If your access system supports access groups:
- At the top of the user page, click Access Groups.
-
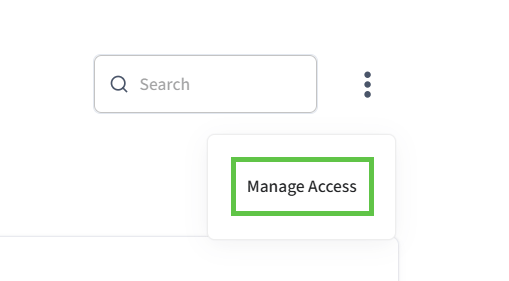
In the upper-right corner of the user page, click
 and select Manage Access.
- In the Manage Access for [User] dialog, select the checkbox next to each access group to which you want to add the user and then click Save.
-
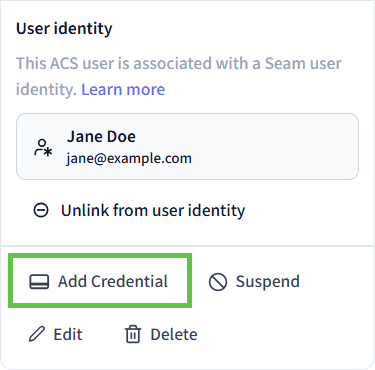
At the left side of the user page, click Add Credential.
- In the Choose type of credential dialog, click Seam mobile key.
-
If your access system supports direct entrance assignment:
- In the Select entrances for [user] dialog, select the checkbox next to each entrance to which you want to grant the user access and then click Next.
- In the Enter start & end time dialog, specify the schedule for the user’s access and then click Next.
- Click Done to confirm the successful credential creation.
-
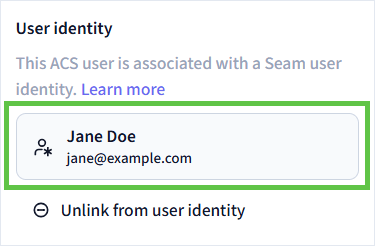
In the User identity area at the left of the user page, click the user identity linked to the access system user.
-
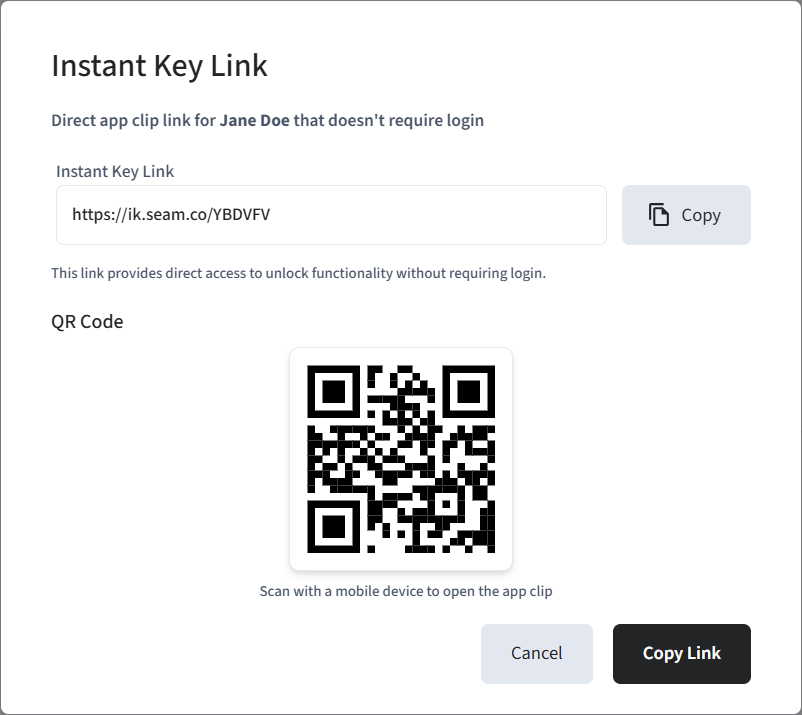
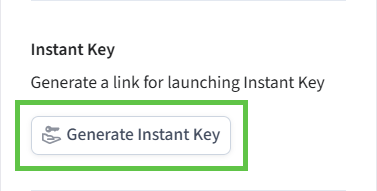
In the Instant Key area at the left of the user identity page, click Generate Instant Key.
- An Instant Key link that you can copy and share with your user.
- A QR code that you can scan with a mobile device to open the Seam Instant Key App Clip.