Overview
Seam provides a universal API to connect and control many brands of devices such as smart locks, thermostats, and sensors. This guide provides a rapid introduction to connecting and controlling your NoiseAware devices (called “activity zones” by NoiseAware) using the Seam API. To learn more about other brands of devices supported by Seam, head over to our integration page. To simplify the examples below, we’ll use the following modules and utility variables:1. Install Seam SDK
Seam provides client libraries for many languages, such as JavaScript, Python, Ruby, PHP, and others, as well as a Postman collection and OpenAPI spec.- JavaScript / TypeScript (npm, GitHub)
- Python (pip, GitHub)
- Ruby Gem (rubygem, GitHub)
- PHP (packagist, GitHub)
- C# (nuget, GitHub)
- JavaScript
- Python
- Ruby
- PHP
- C#
This guide uses a Sandbox Workspace. Only virtual activity zones can be
connected. If you need to connect a real Noiseaware device, use a non-sandbox
workspace and API key.
2. Link NoiseAware Account with Seam
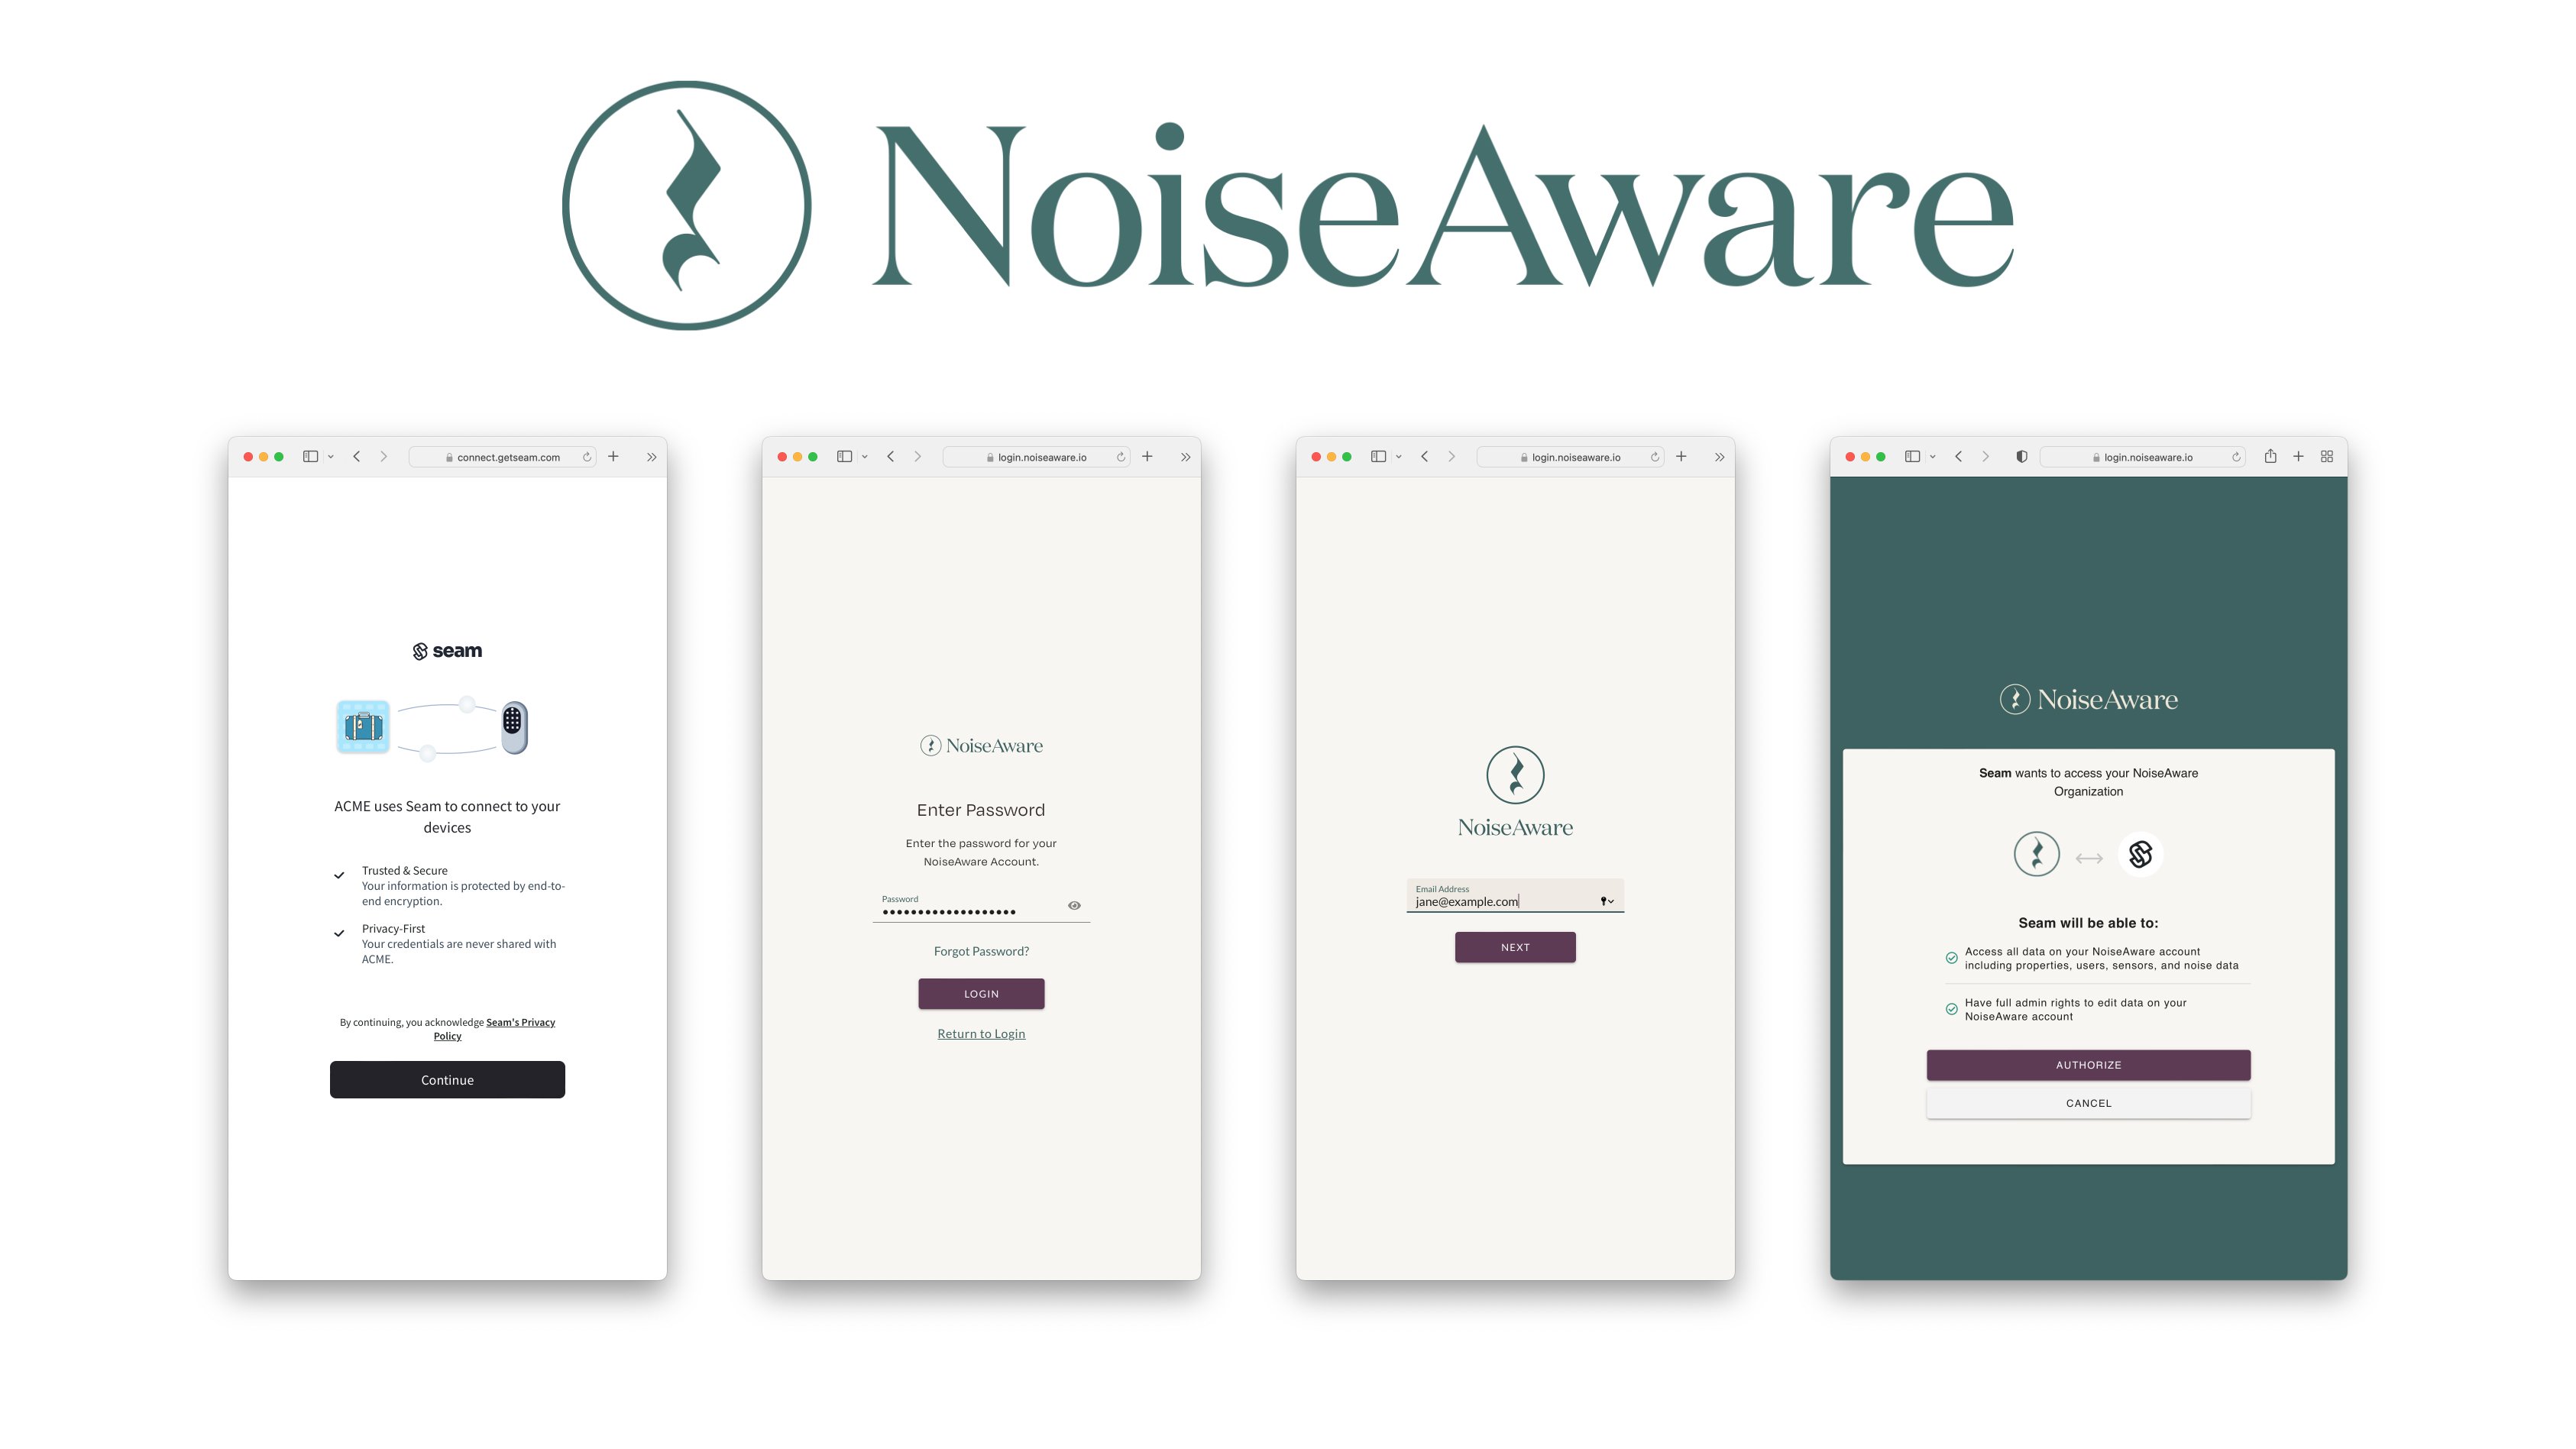
To control your NoiseAware device via the Seam API, you must first authorize your Seam workspace against your NoiseAware account. To do so, Seam provides Connect Webviews: pre-built UX flows that walk you through authorizing your application to control your NoiseAware device.Create a Connect Webview
Authorize Your Workspace
Navigate to the URL returned by the Webview object. Since you are using a sandbox workspace, complete the login flow by entering the NoiseAware sandbox test accounts credentials below:- email: jane@example.com
- password: 1234
Get the New Webview
After you complete the login above, you’ll get an event forconnected_account.createdif you set up a webhook handler. Otherwise you can just poll for the webview until it’s status changes, as shown below:
3. Retrieve NoiseAware
NoiseAware noise devices appear with thedevice_type "noiseaware_activity_zone".
4. Receive Noise Events
NoiseAware users can define noise thresholds at which noise alerts are sent. You’ll get an event fornoise_threshold.noise_threshold_triggered when you set up a webhook handler. You can also poll for events.
NoiseAware has three distinct noise alerts:
newNoise, continuedNoise, and
resolvedNoise. It is essential to keep in mind that Seam will solely trigger
the noise_threshold.noise_threshold_triggered event for newNoise.