1. Open the Customer Portals page
From the Console, navigate to Developer → Customer Portals from the top navigation bar.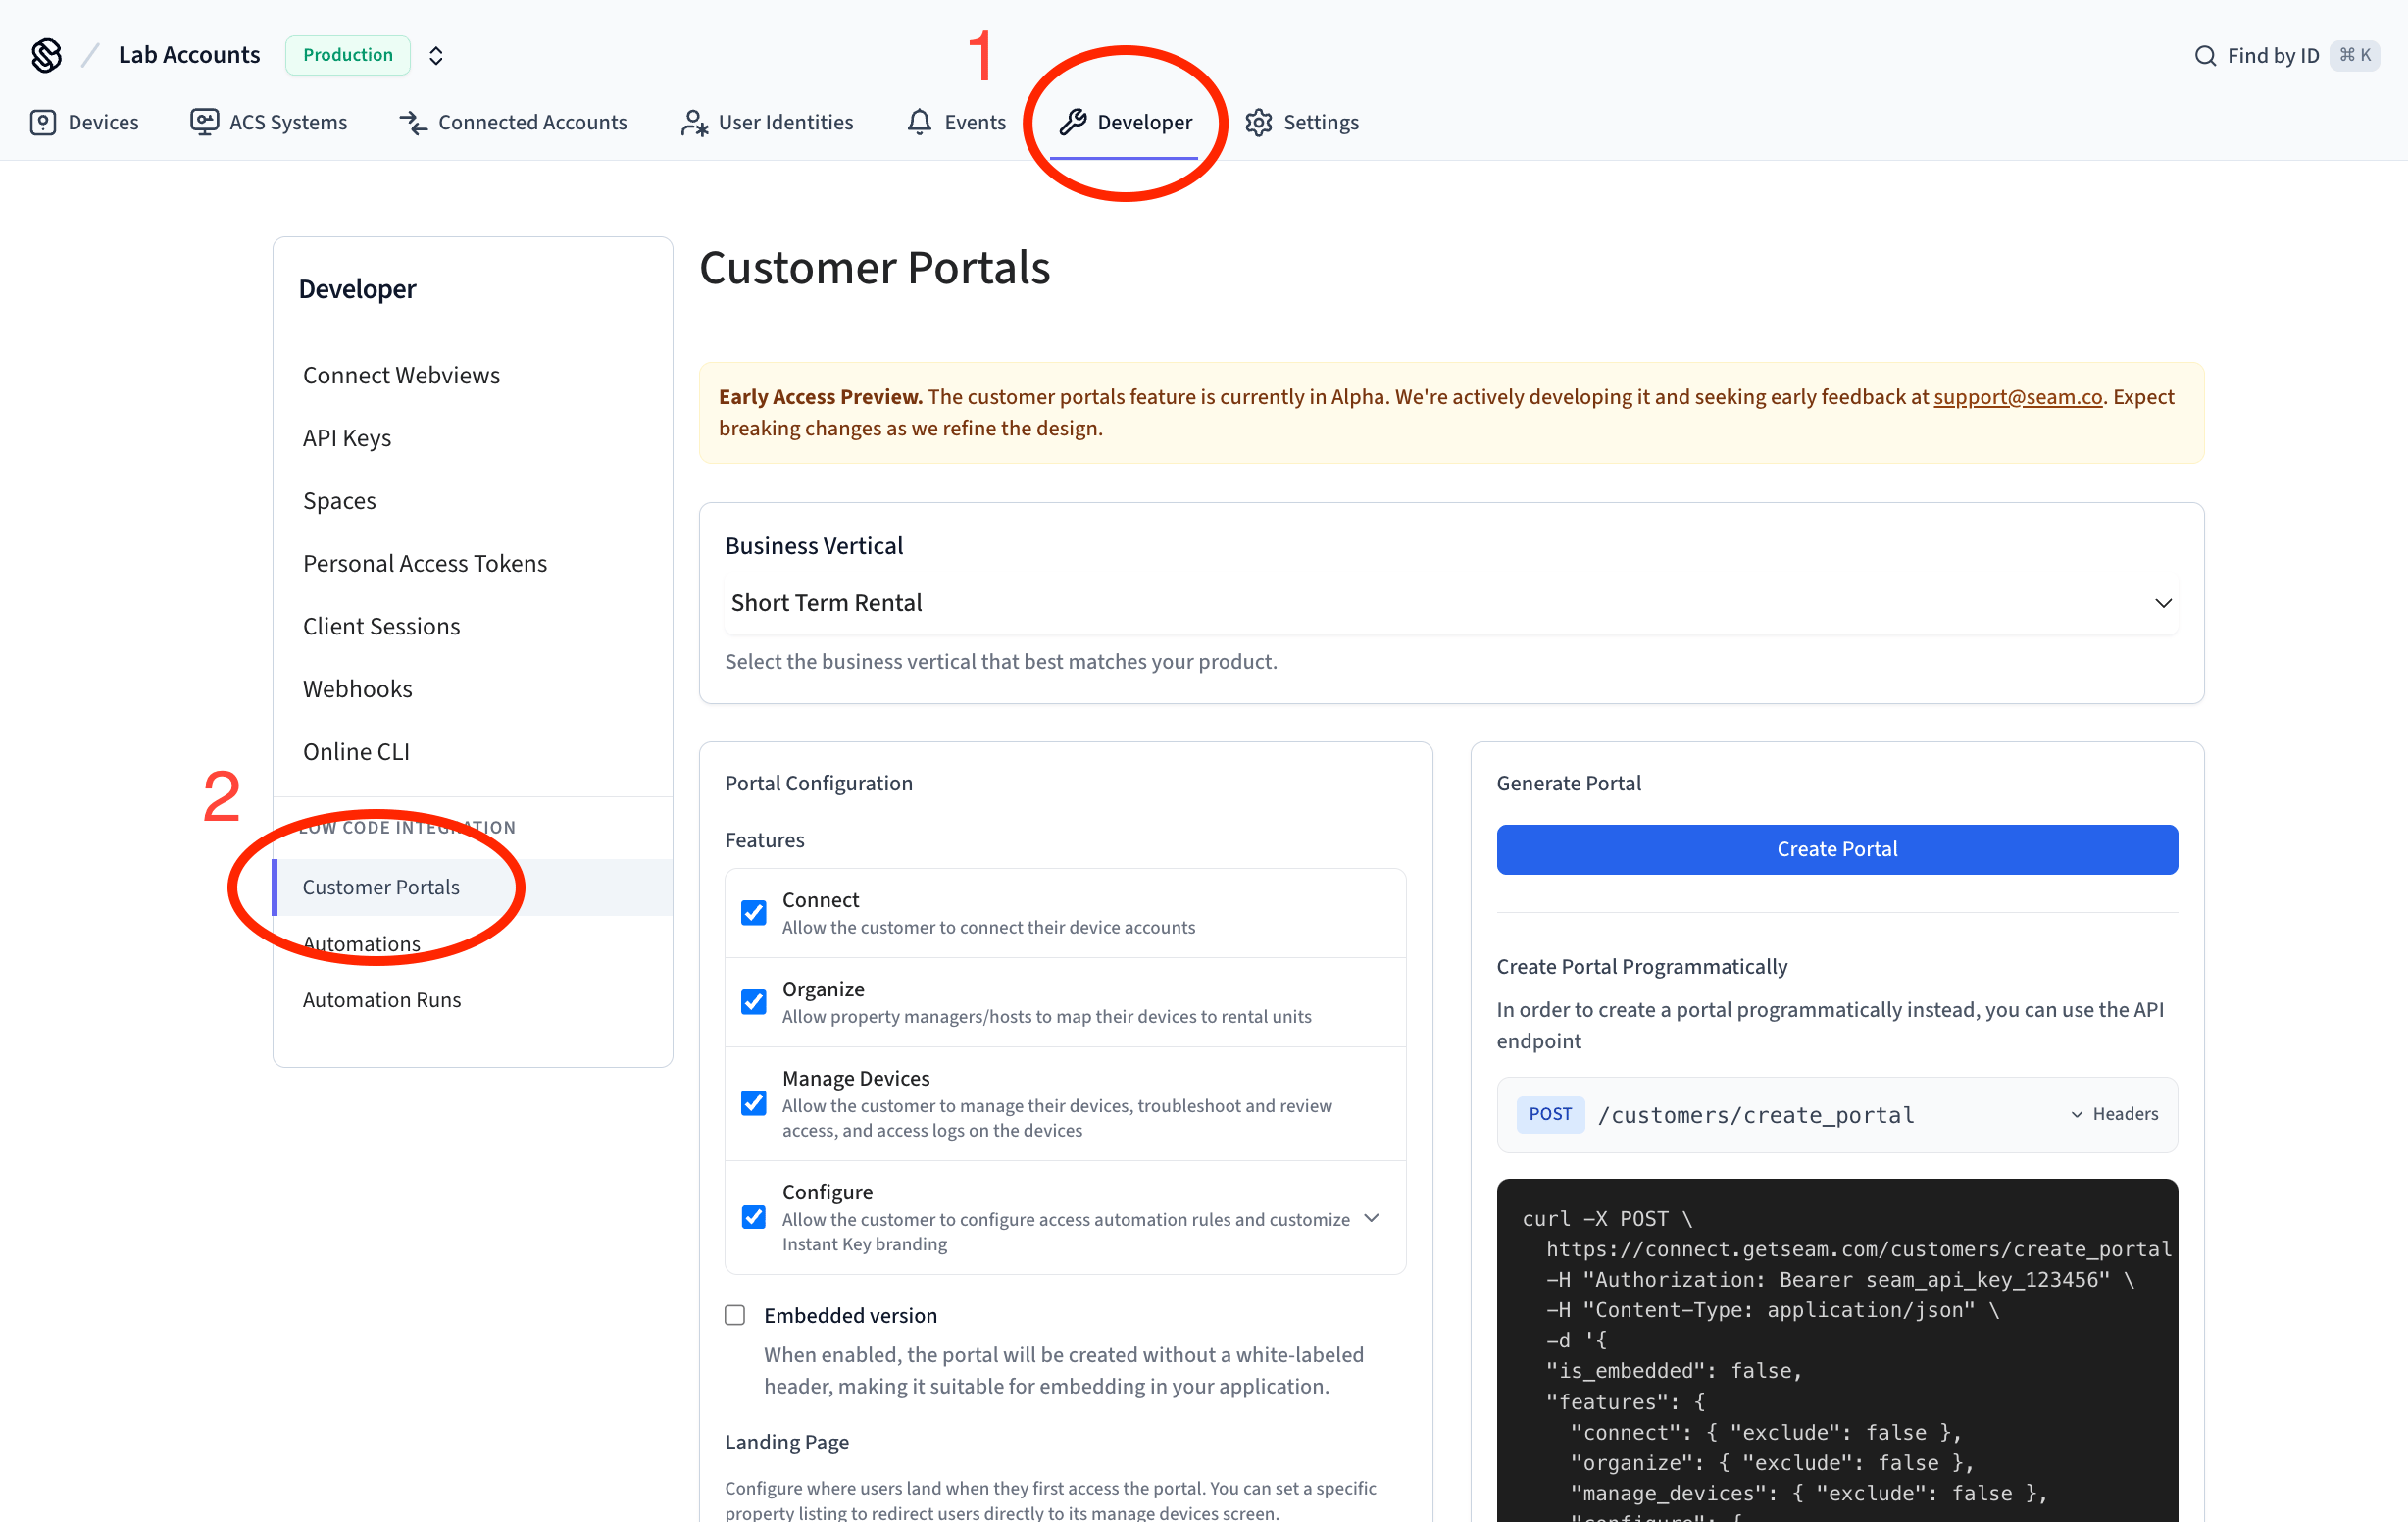
2. Select your business verticals
Choose the vertical that best matches your product (for example, Short Term Rental). This setting does two things:- Preconfigures recommended defaults for your use case.
- Updates the labels in the portal UI so they use industry-specific terms your customers expect.
- In the Hospitality vertical, the generic Seam concept of a Space appears in the portal as a Room.
- In Multi-family, Spaces appear as Units.
- In Gym Management, they appear as Facilities.
.png?fit=max&auto=format&n=cEb0qDa-sehX_yKT&q=85&s=a310aee3db7da0aa7628ef99525f9ffa)
| Vertical | User Identity | Spaces | Bookings |
|---|---|---|---|
| Short Term Rental | Guest | Property listings | Reservations |
| Multi-family | Tenant | Units, Common areas | Leases |
| Hospitality | Guest | Rooms, Common areas | Bookings |
| Gym Management | Member | Facilities | Memberships |
| Property Tours | Visitor | Tour spaces | Bookings |
| Neutral | User Identity | Spaces | Bookings |
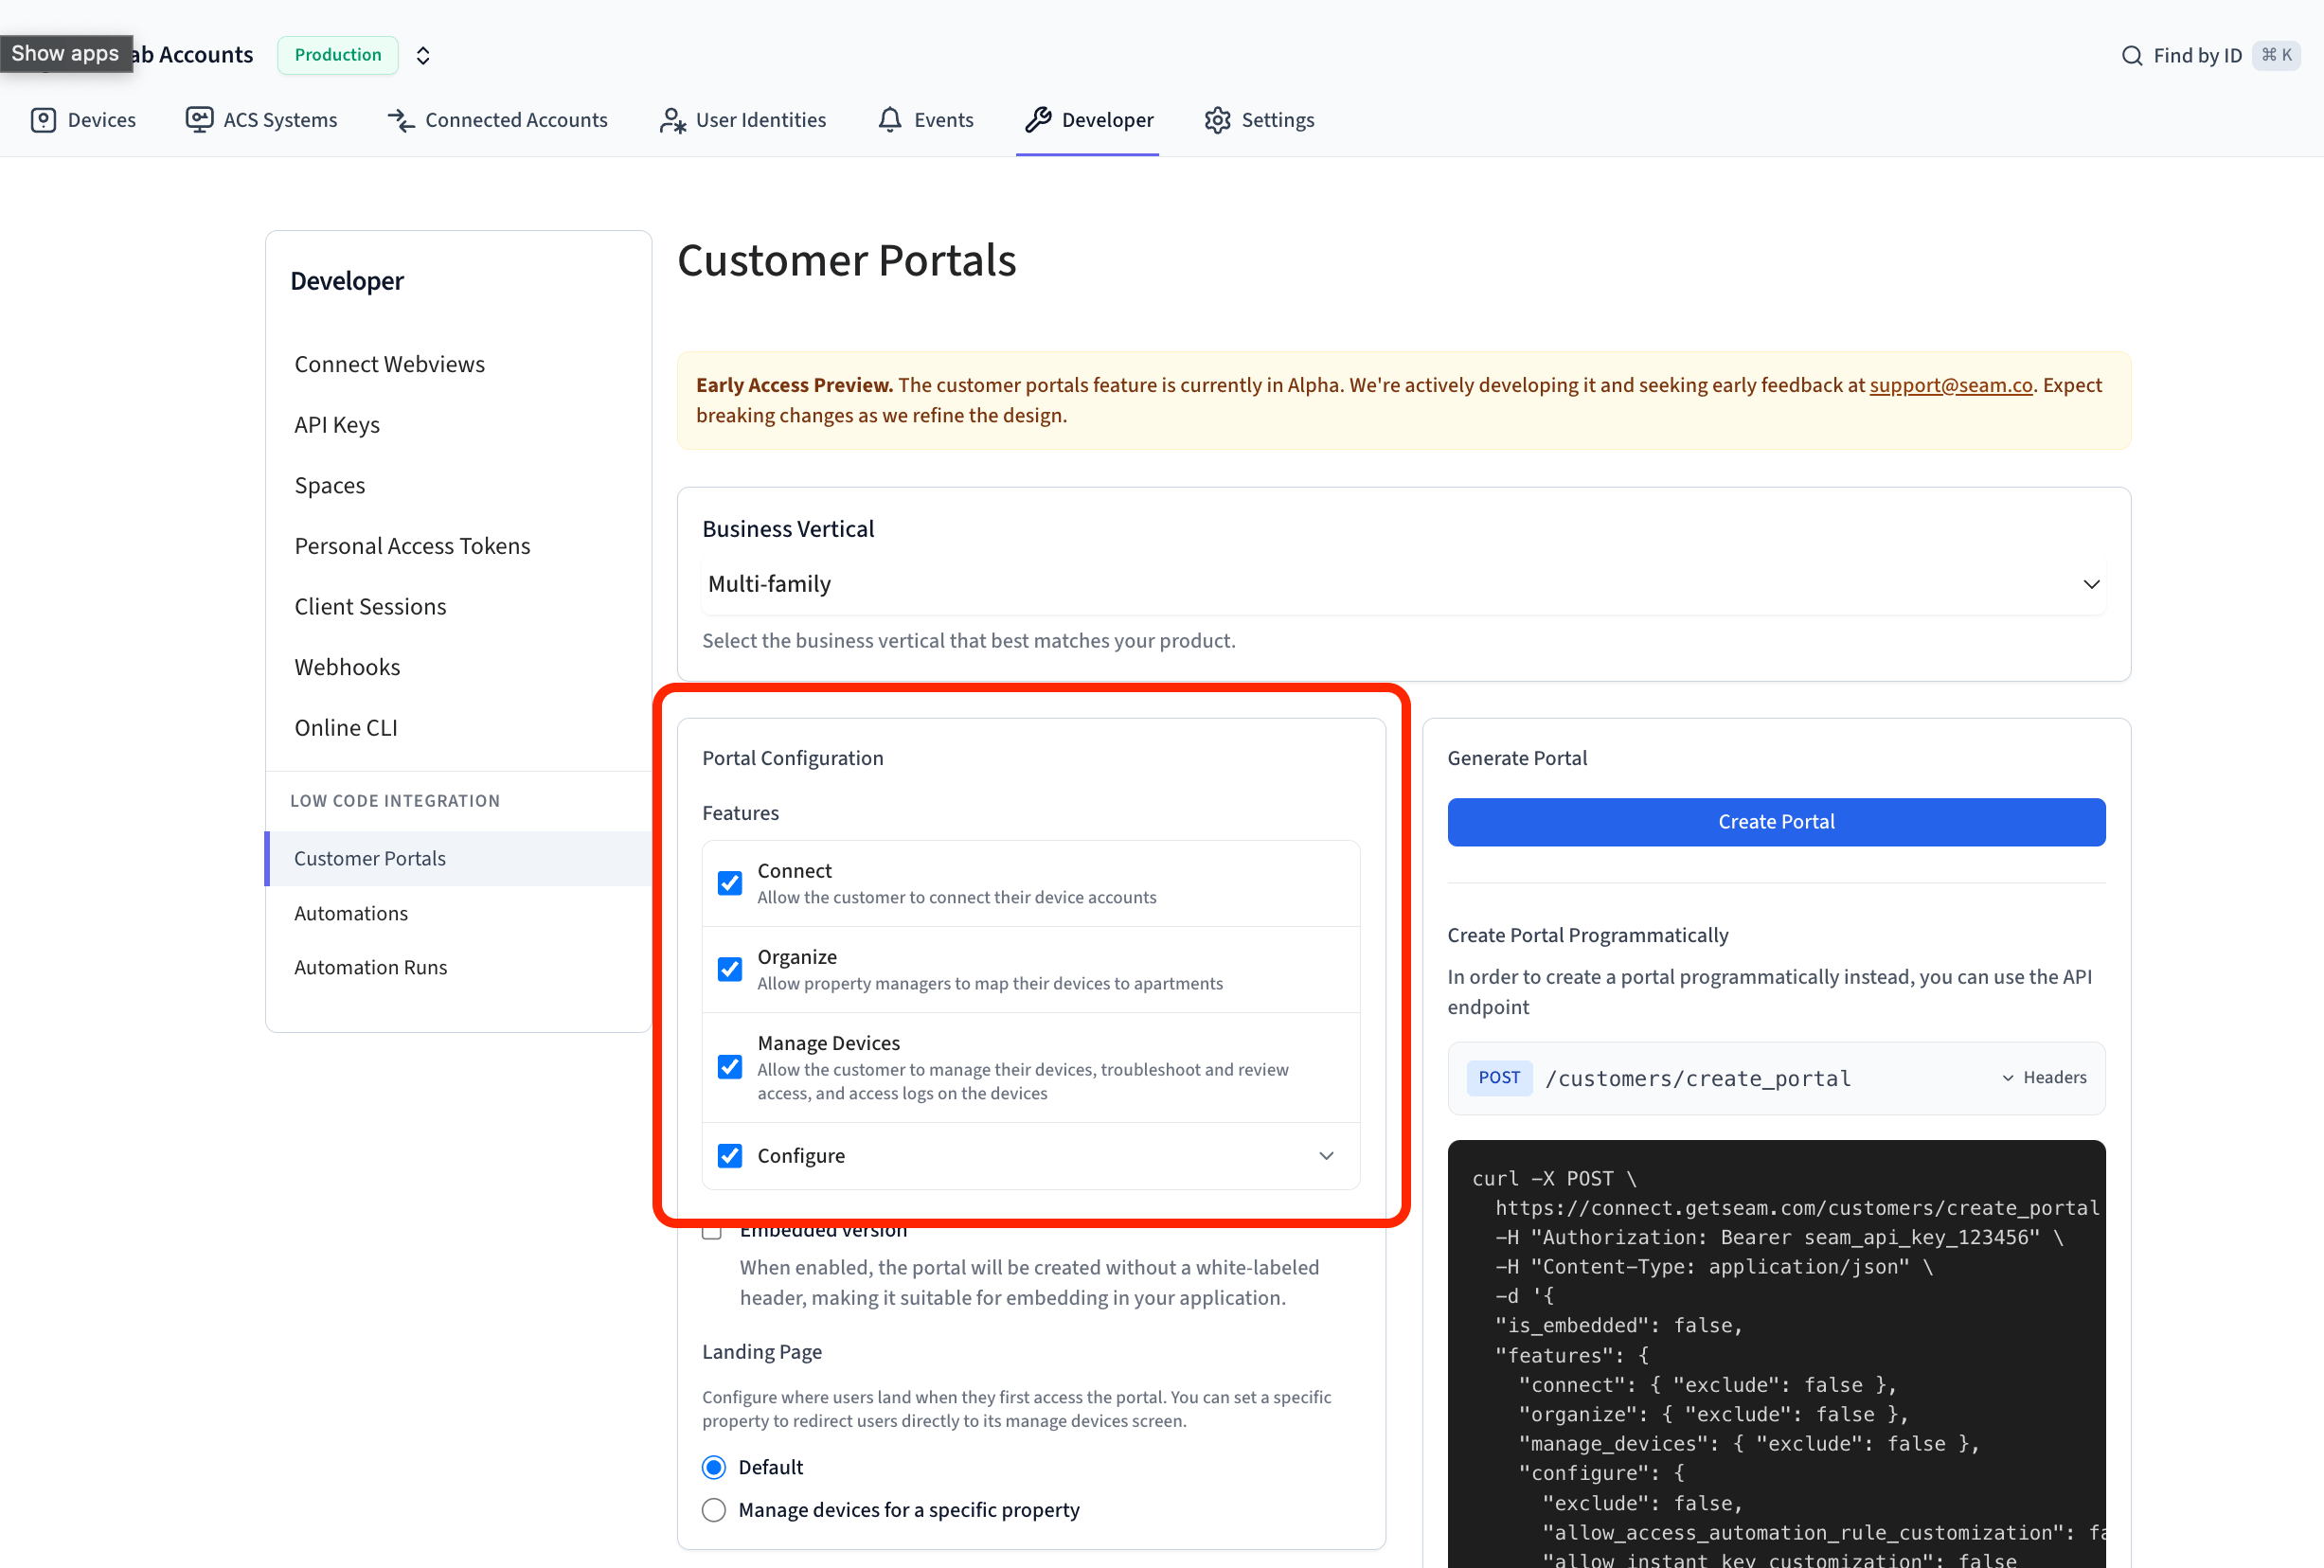
3. Configure portal features
Under Portal Configuration, select which features to enable:- Connect – allow customers to connect their device accounts.
- Organize – let customers map devices to rental units, rooms, or spaces.
- Manage Devices – give customers tools to manage devices, troubleshoot, and view logs.
- Configure – allow customers to set automation rules and customize Instant Key branding.
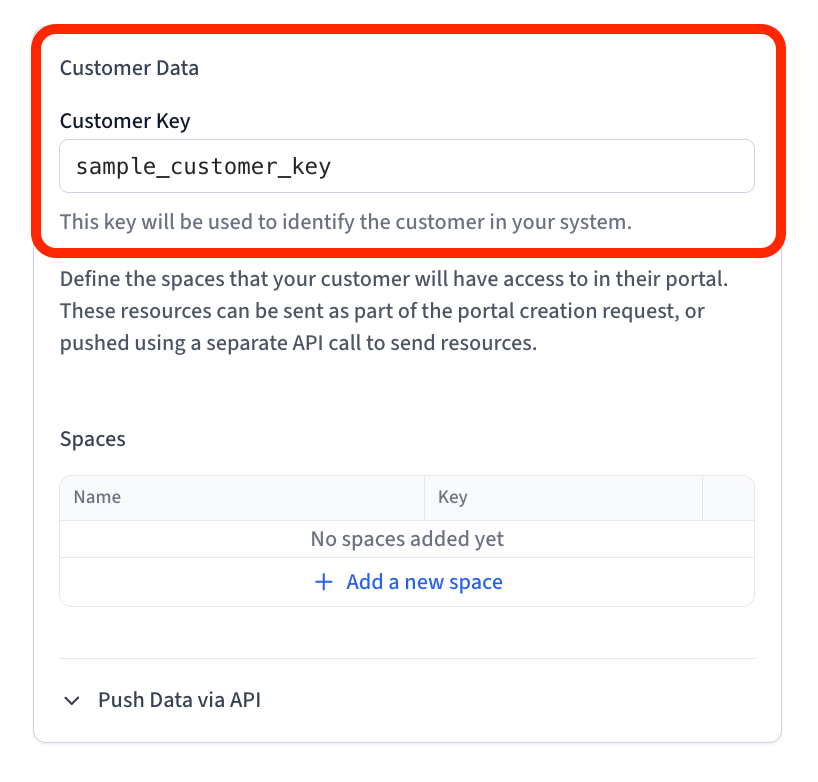
4. Enter your customer_key
Add the customer_key for the customer this portal belongs to. Seam uses this key to scope the portal to only that customer’s devices and accounts.
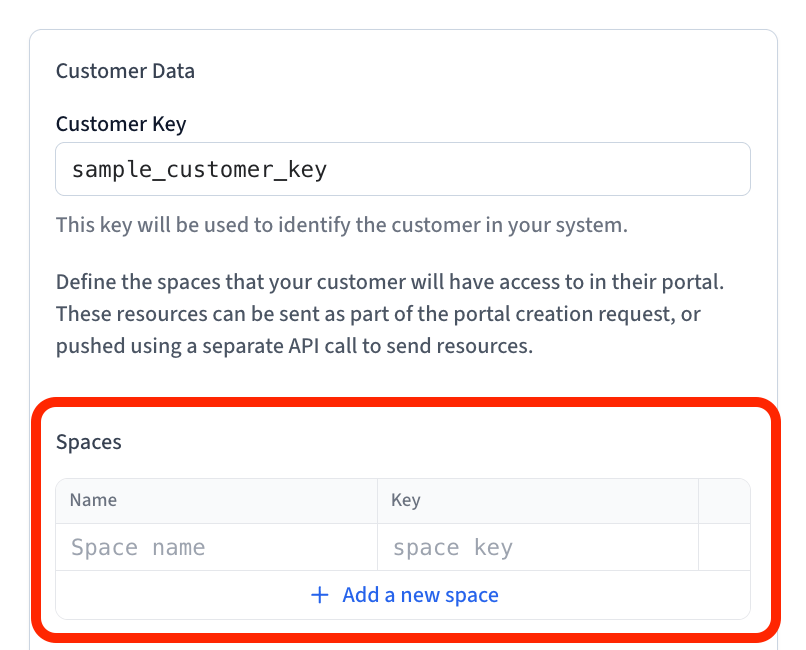
5. (Optional) Set up Spaces
This step is required only if you enable the Organize feature.- Spaces represent the real-world units your customer manages—for example, Room 101 in a hotel, Unit A in an apartment building, or Studio 3 in a gym.
- Create a Space for each unit your customer manages.
- Use a
space_keythat matches your own system’s identifier (for example,room-101-id).
Reminder: Even if the portal shows “Rooms” or “Units,” these all map back
to Spaces in Seam.
6. Generate the portal
Click Create Portal. Seam generates a temporary portal URL you can use to preview the portal.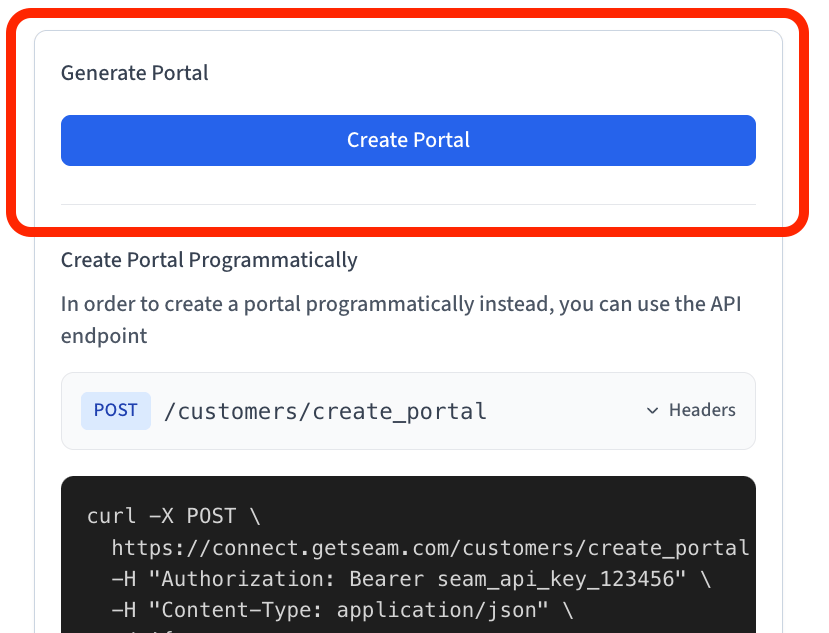
Next step: Generate portals programmatically with the API
In production, portals must be generated with the API so that they can be refreshed whenever a customer needs access. On the next page, we’ll cover how to create portals programmatically using thecreate_portal endpoint.