Step 1: Create a Connect Webview
The Connect Webview flow begins when your user wants to connect their device or ACS account to Seam through your app. In your app, create a Connect Webview. The Seam API represents Connect Webviews asconnect_webview objects.
When creating a Connect Webview, choose which providers to display. Choose one of the following options:
-
To display a preselected group of providers, you can specify the desired
provider_category. Supported provider categories are as follows:stableconsumer_smartlocksthermostatsnoise_sensors
provider_categoryfilter. -
To display a specific, custom set of providers, specify the desired list of
accepted_providers. For details, see Customize the Brands to Display in Your Connect Webviews.
Connect Webview Response
The createdconnect_webview object includes a url property. You use this URL to display the Connect Webview flow to your user.
Step 2: Display the Connect Webview
In your app, open the Connect Webview for your user, using the Connect Webviewurl.
You can redirect to the Connect Webview URL or embed the Connect Webview in an iframe.
If you choose to embed a Connect Webview in an iframe, it’s important to
understand that some providers move to a new tab during their authentication
flow for security purposes. Seam is not able to abstract away this behavior.
Step 3: Your User Completes the Connect Webview
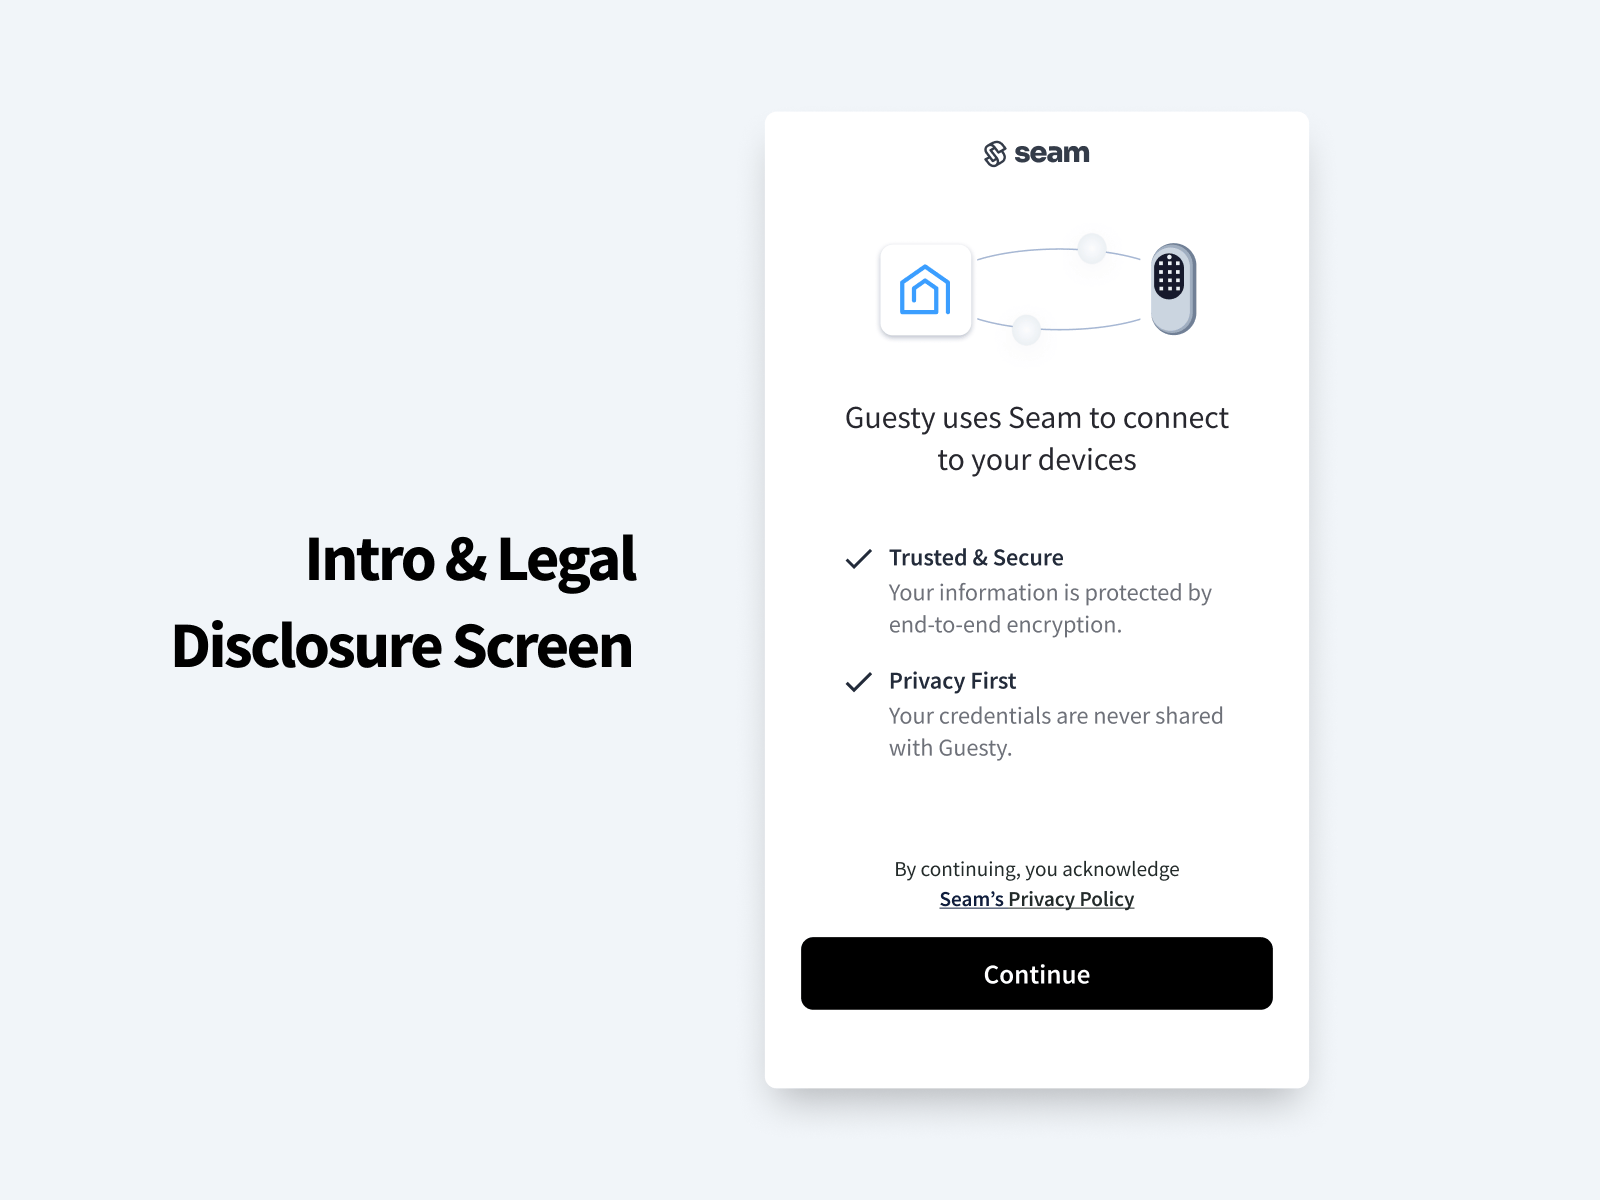
The Connect Webview guides your app user through the following authorization steps:- In the introduction page of the Connect Webview, the user clicks Continue.
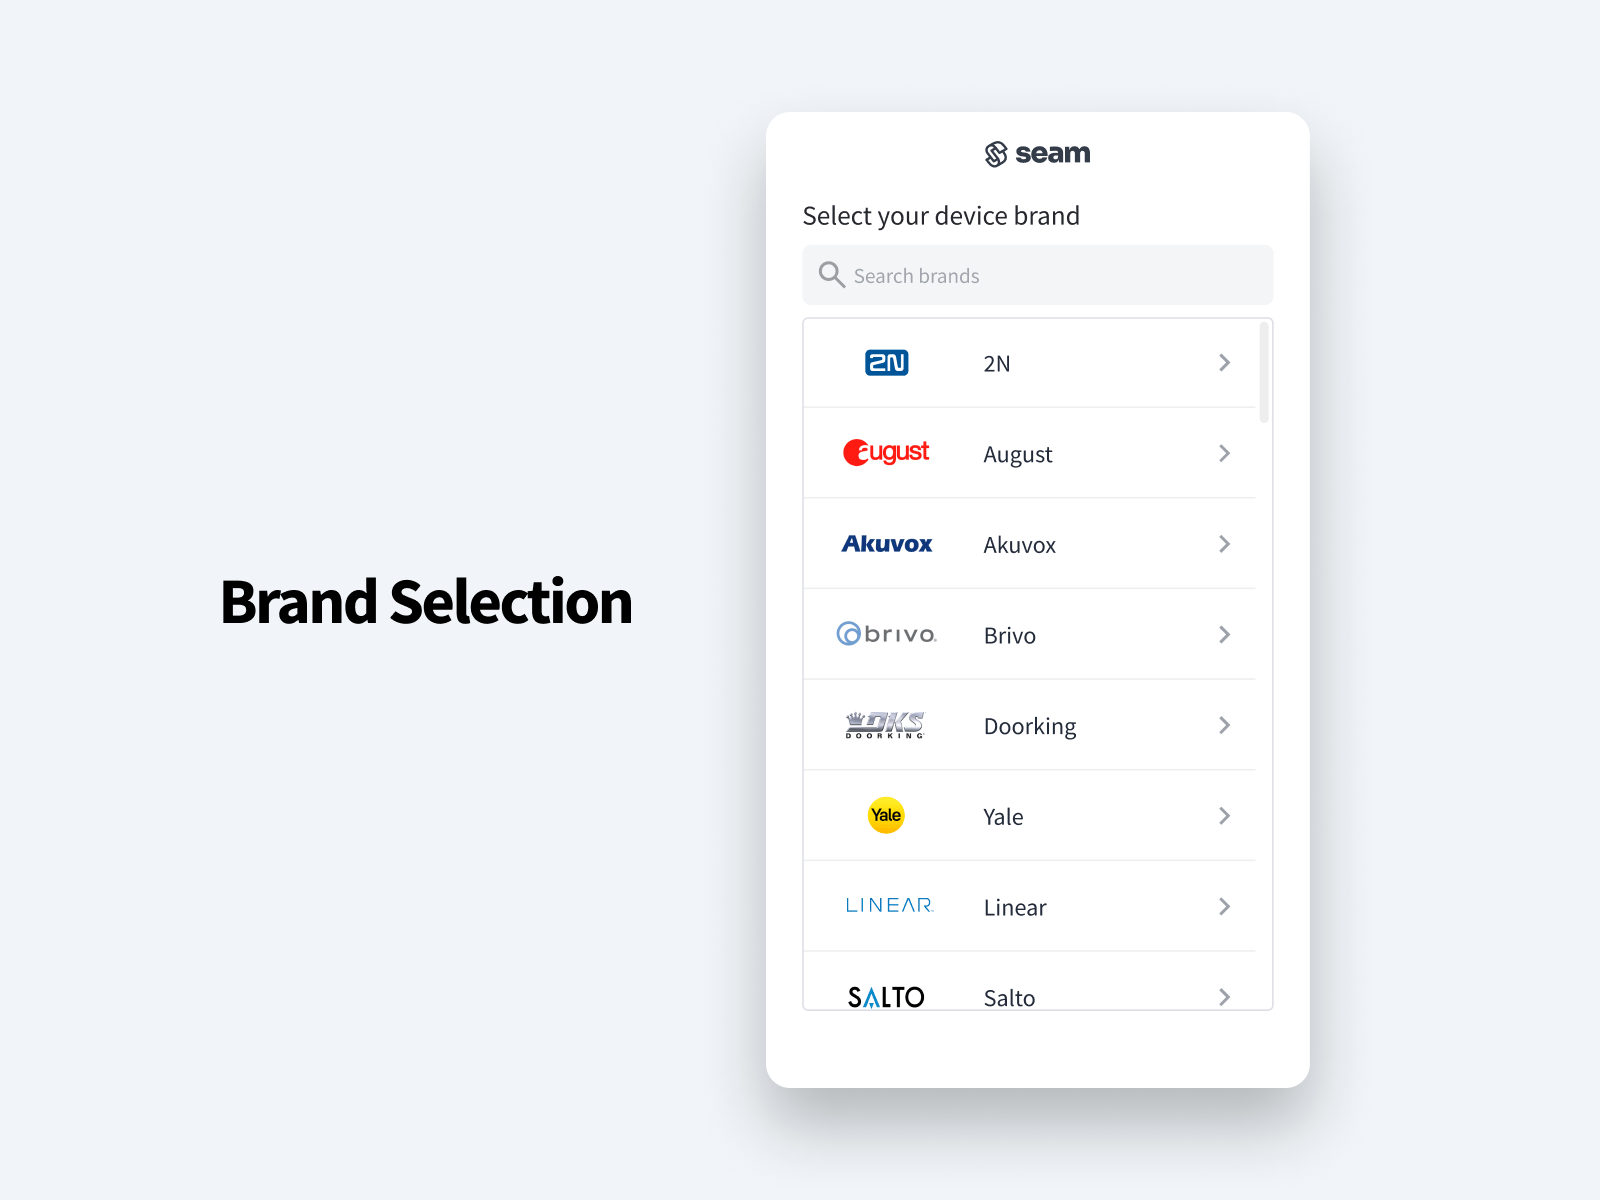
- The user selects their device or ACS brand.
-
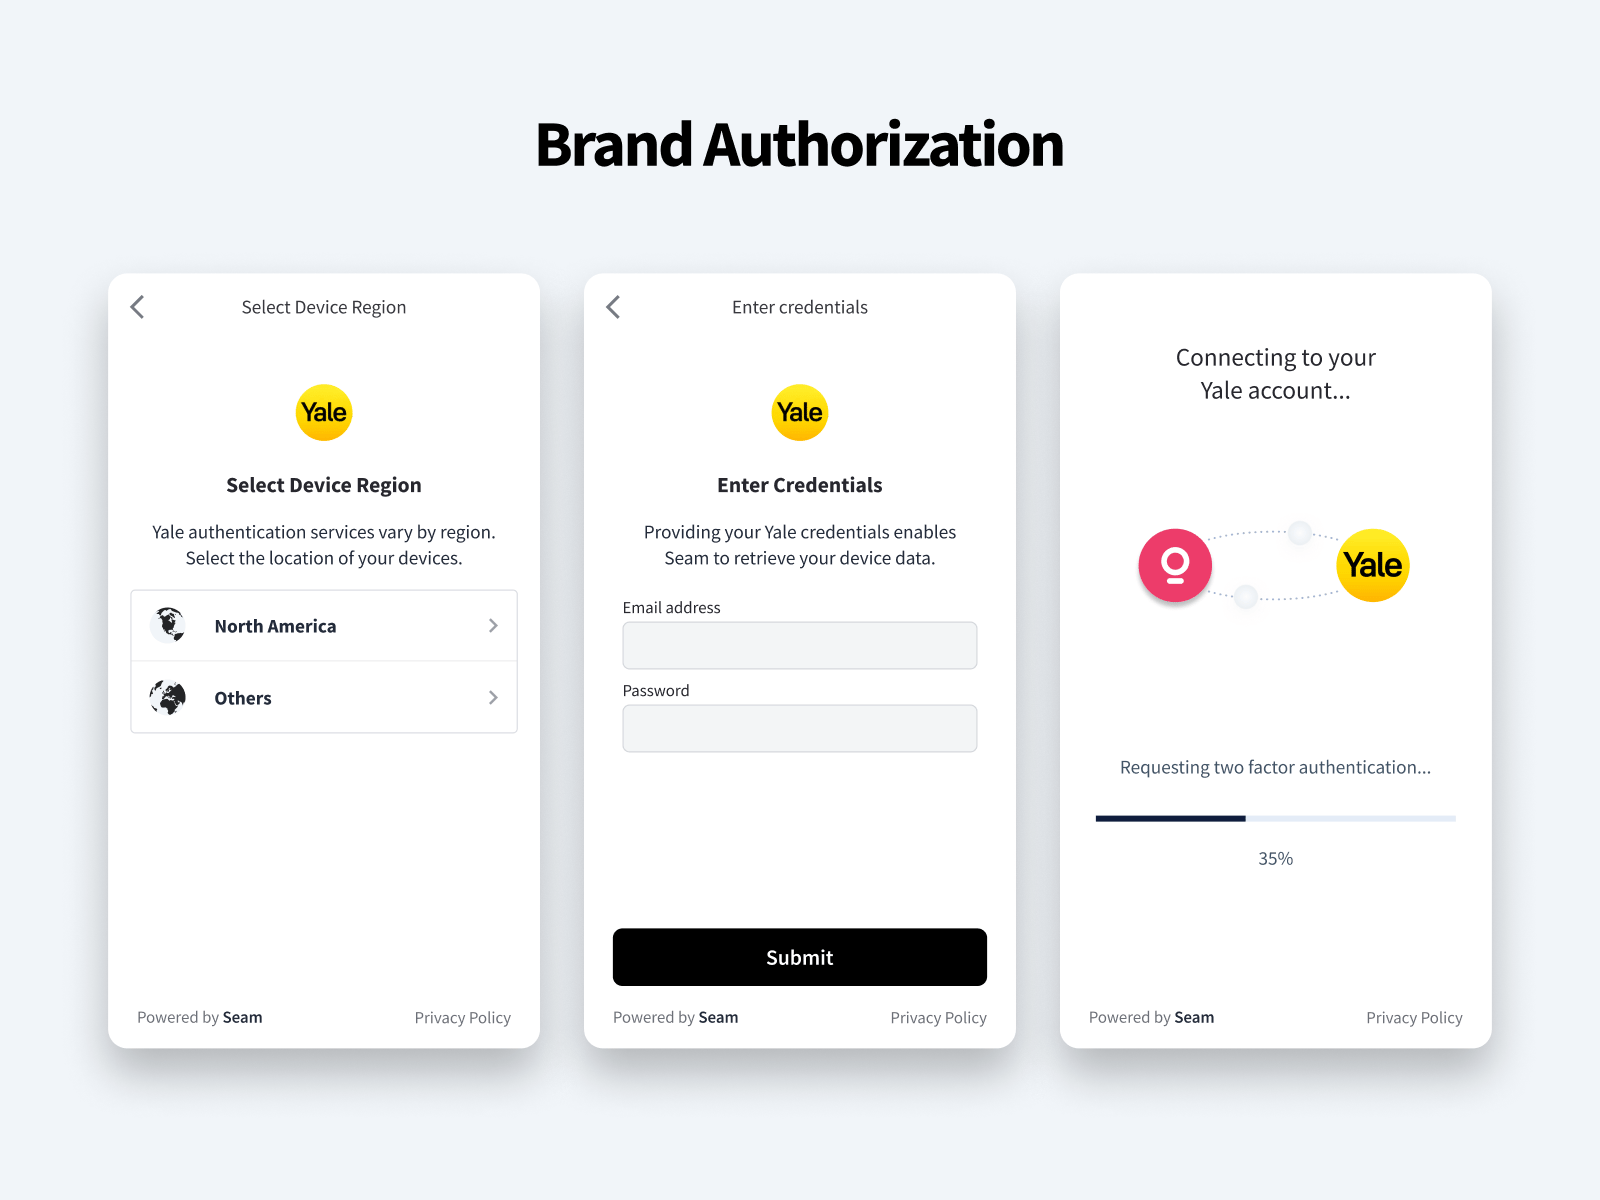
The user follows the displayed instructions to authorize their account.
Seam handles all the necessary authorization steps. For most brands, this authorization flow consists of a simple device account login. Some brands also require multifactor authentication or other information.
For example, brands like Yale offer multiple backend services, depending on the user’s global region. Seam prompts the user to identify the correct service and then proceeds with the appropriate authorization request.
- The Connect Webview displays a page to indicate the successful device or ACS account connection. If an error occurs, the Connect Webview displays the error type, for example, an incorrect password. For more complicated errors, the Connect Webview displays a simple Contact support link that raises the issue to our support team.

Step 4: Verify Successful Account Connection
Use one of the following methods to learn when the account connection has completed successfully:- Polling
- Webhook
- Event listening (for iframes)
You do not need to delete a Connect Webview once a user completes it. Instead,
you can simply ignore completed Connect Webviews.
Step 5: Retrieve Connected Devices or ACS
Use theconnected_account_id from the connected_account.connected event or the completed Connect Webview to retrieve the devices or ACS that your user has just connected to Seam.
Once you have retrieved the newly-connected set of devices or ACS, you can start controlling them with the Seam API. For example, for a set of devices, you may first want to prompt your user to group devices by property. For an ACS, you may first want your user to configure the access permissions to grant to new visitors or tenants.
For instructions, see Retrieving Devices or Access Control Systems Connected Through a Connect Webview.
If your user wants to connect additional devices or ACS from different brands
to Seam, your app must create and present a new Connect Webview for each
different account that your user wants to connect.